Table of contents
Introduction
To use our contract layout module and automate the sending of your contracts to employees, activate this functionality on the CONFIGURATION page in SETTINGS.
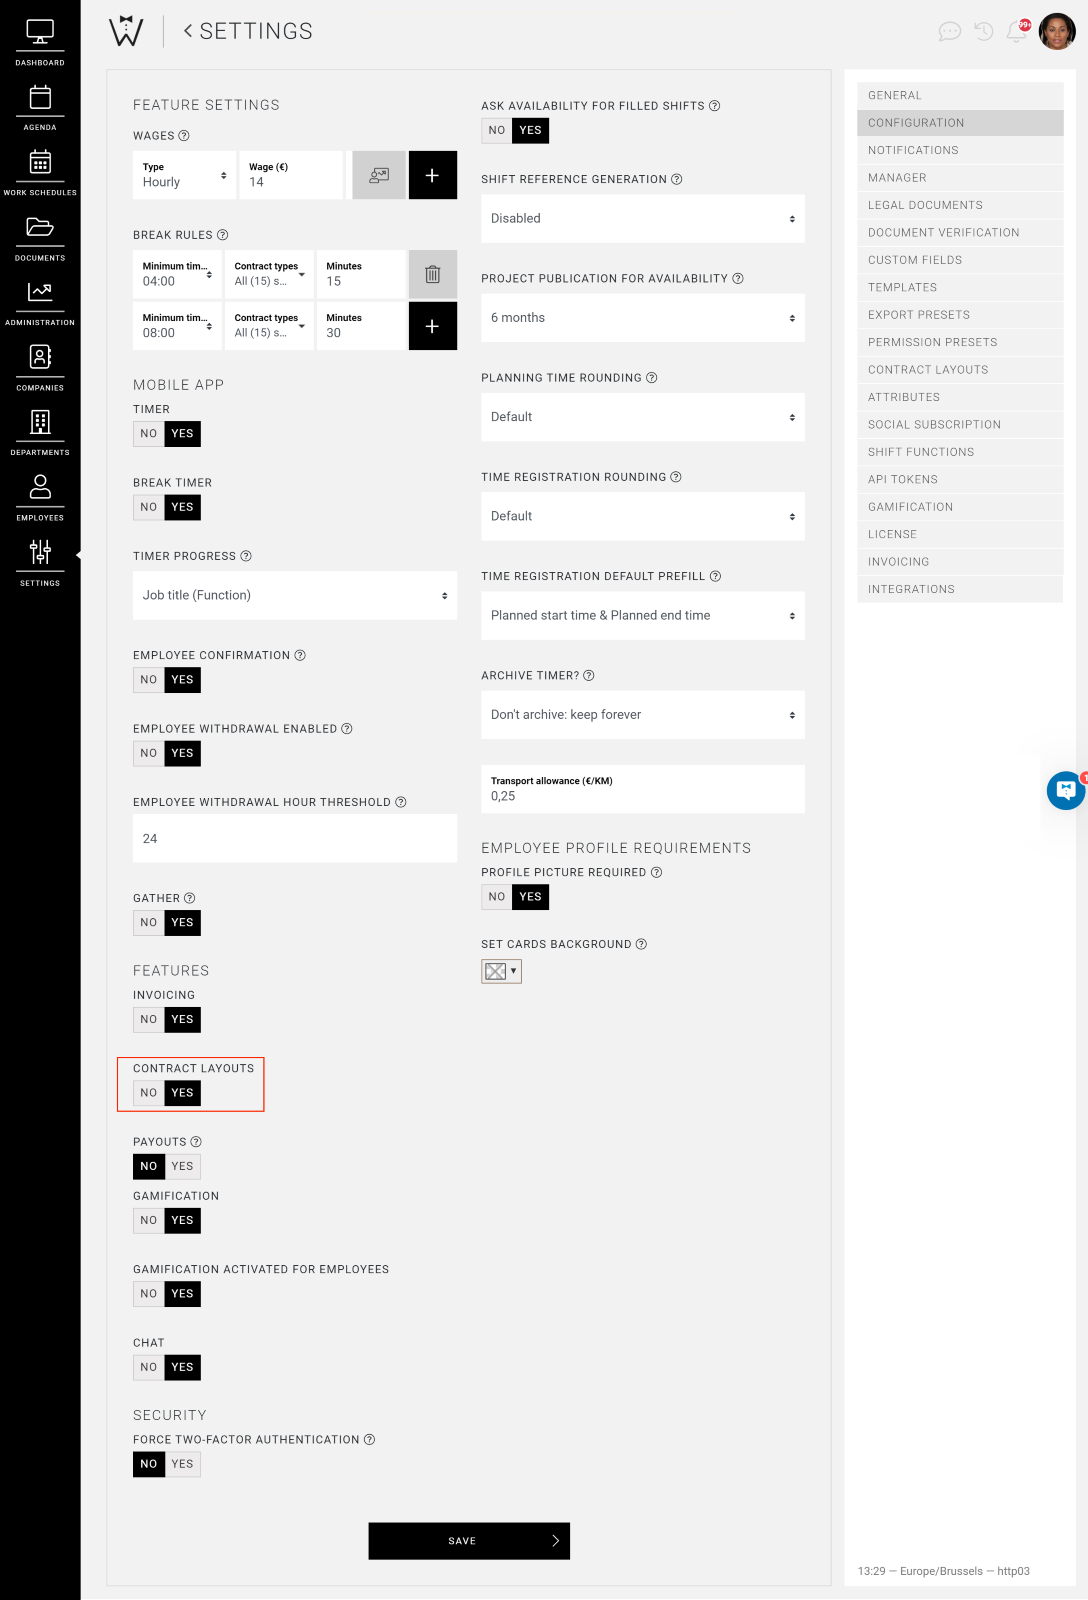
After activating this, an additional option will appear in your SETTINGS menu: CONTRACT LAYOUTS.
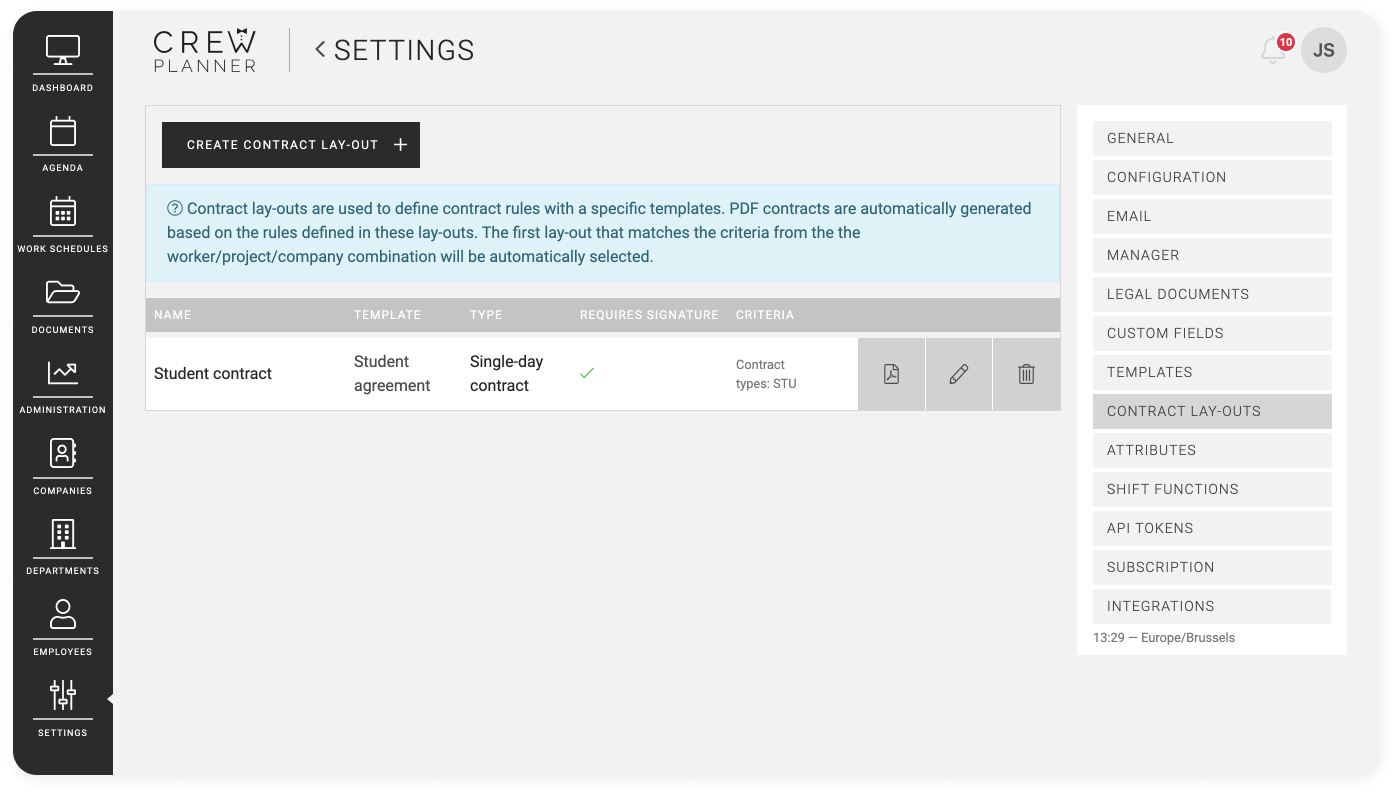
On this page, you can create, edit, delete and consult contracts layouts through the use of templates. This allows you to easily set up all the contracts your employees should receive, and this for each working day or for multiple days.
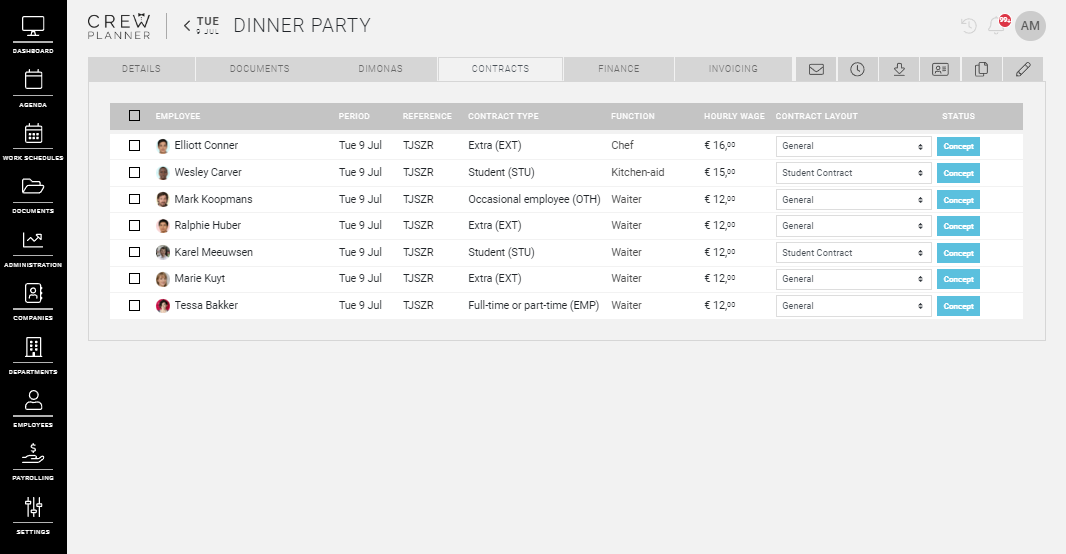
After you have created these contract layouts, they are ready for use and you can consult them in the tab CONTRACTS with each project.
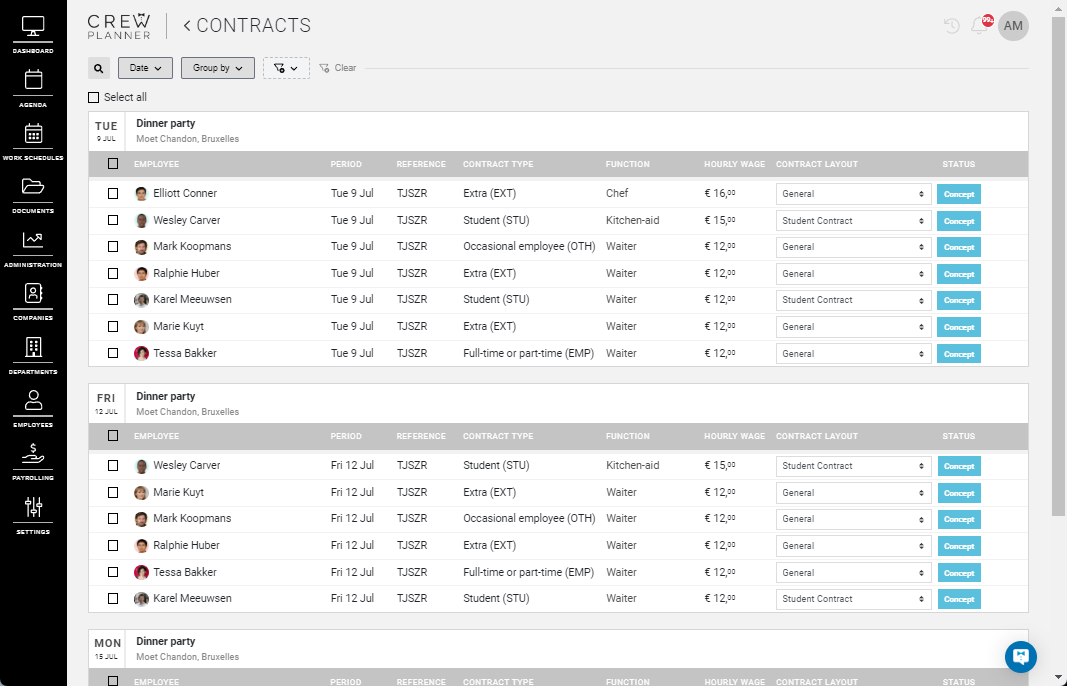
Or in ADMINISTRATION in the menubar you find a general CONTRACTS page with an overview of all your contracts.
Create a contract layout
Before you can create a contract layout, you must first create and upload a template in the TEMPLATES tab in SETTINGS. Read more about templates here.
On the CONTRACT LAYOUTS page, you can create a contract layout by selecting CREATE CONTRACT LAYOUT in the top left-hand corner.
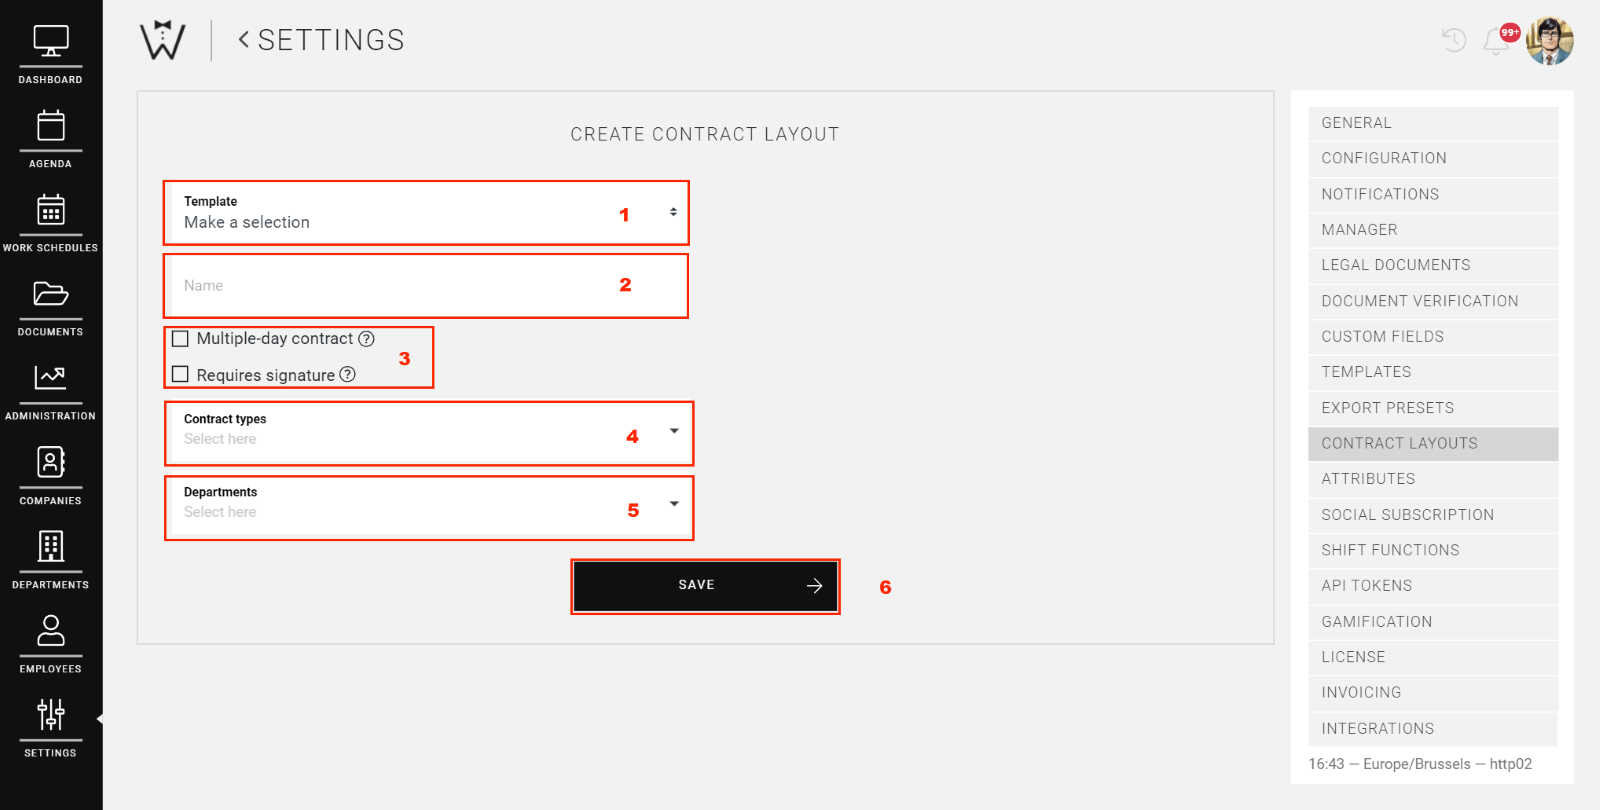
You will then be taken to the following page:
-
Template: you select a template you have already created.
-
Name: you can give your contract a specific name.
-
Selection: here you can select whether your contract needs to be a multi-day contract, and whether it should be signed by the employee via the application. This gives you the possibility, for example, to draw up a one-day contract for each type of contract as well as a multi-day contract.
CrewTip! If you configure that the employee does not have to sign the contract, this contract will also not be presented to the employee for signature. However, one can find this contract in the DOCUMENTS tab of the project and in the DOCUMENTS page of the employee app.
-
Contract types: here you determine for which type of employee this contract is intended.
-
Department: In addition to the contract type, you can also choose for which department they are needed. If the contract applies to all departments, select General.
-
Save: after you have set everything, select SAVE.
Edit a contract layout
You edit a contract layout by selecting the pencil:

You can then change the template linked to this contract, the name of the contract, the contract types and the department. In addition, you can also adjust if the contract needs to be a multi-day contract and whether it is mandatory for the employee to sign the contract.
Delete a contract layout
If you want to delete a contract, select the bin icon:

After you have deleted the contract layout, the previously generated contracts will remain and can be found in DOCUMENTS, both on the general documents page and in the employee's profile.
Consult a contract layout
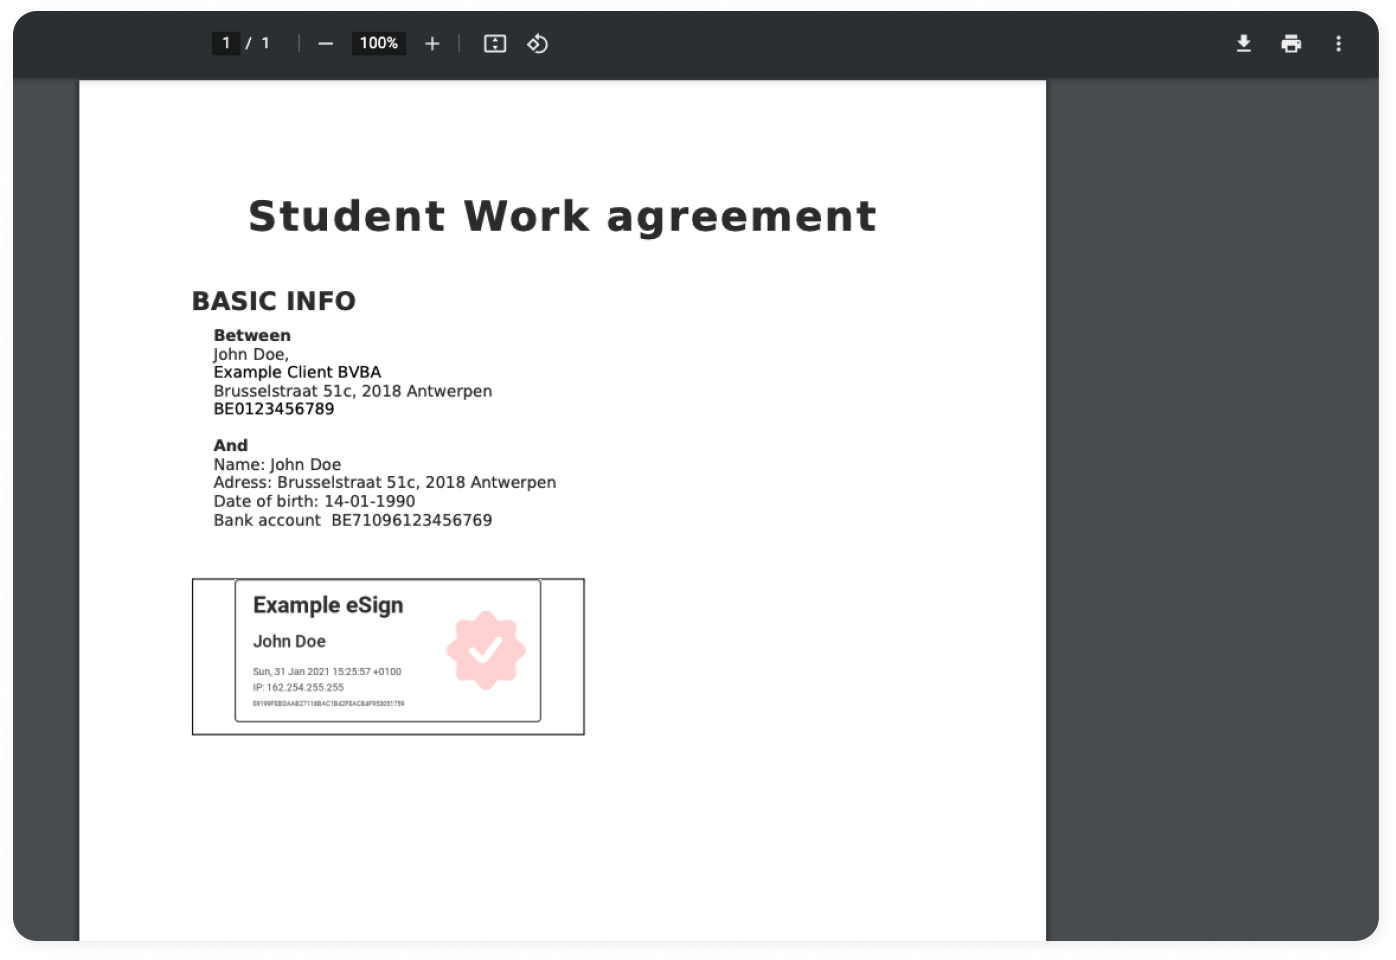
If you would like to consult an example of your set contract layout, select the pdf icon:

Your web browser will open an extra tab containing the sample document. If you have used the correct codes, the corresponding data will be completed with example data.
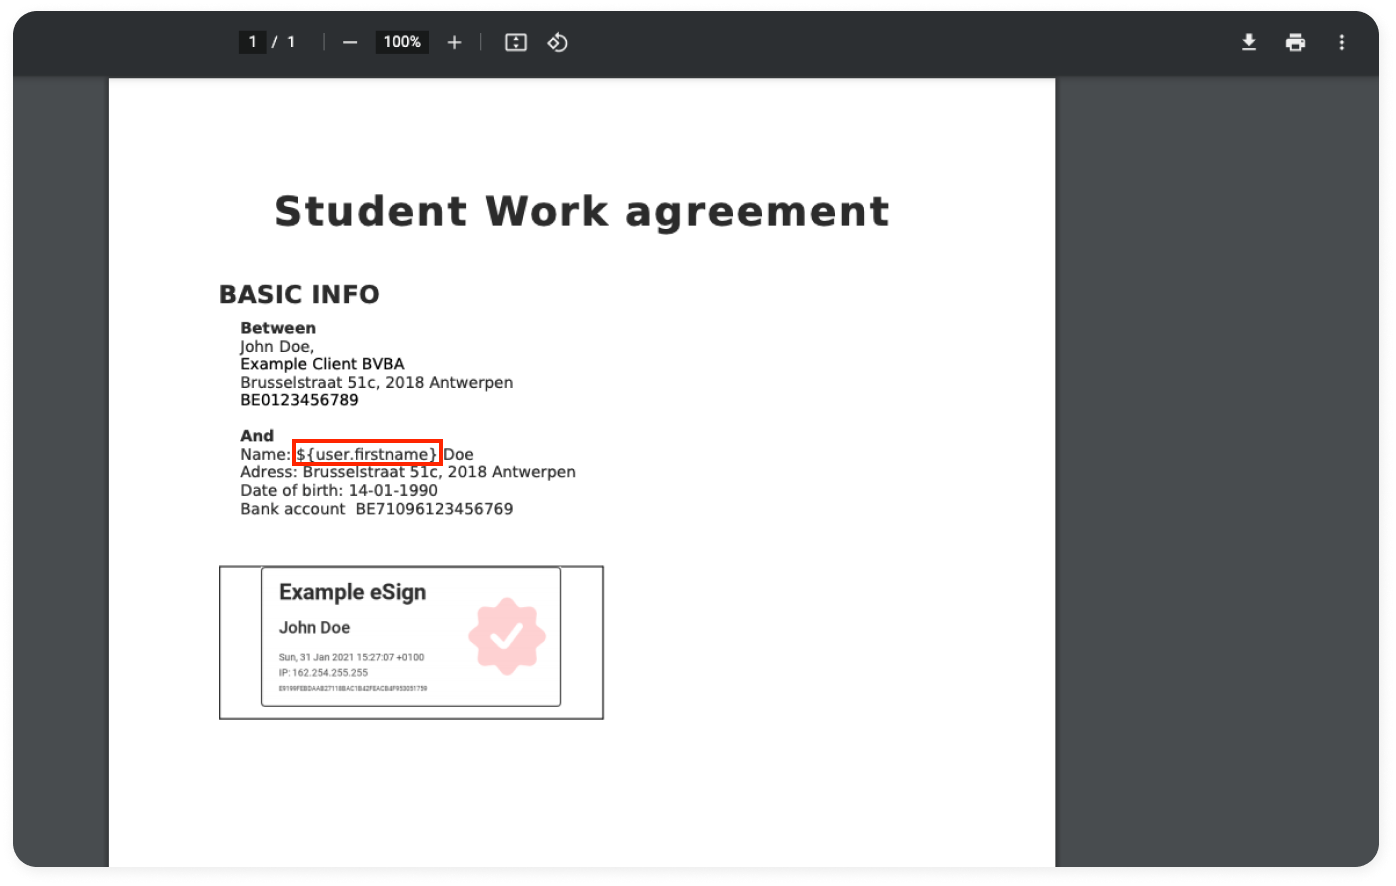
If you used an incorrect code, this code will be displayed as plain text instead of the example data, as in below example.
Next step: process contracts
Once your contract layouts are set up, proceed to our article Contracts to learn how to process, send, and manage these contracts efficiently.
We hope this article has helped you!
If you still have questions, take a look at our Crew Academy first. You might find the answer in one of our articles.