Where all of an employee's information can be found.
Table of contents
Introduction
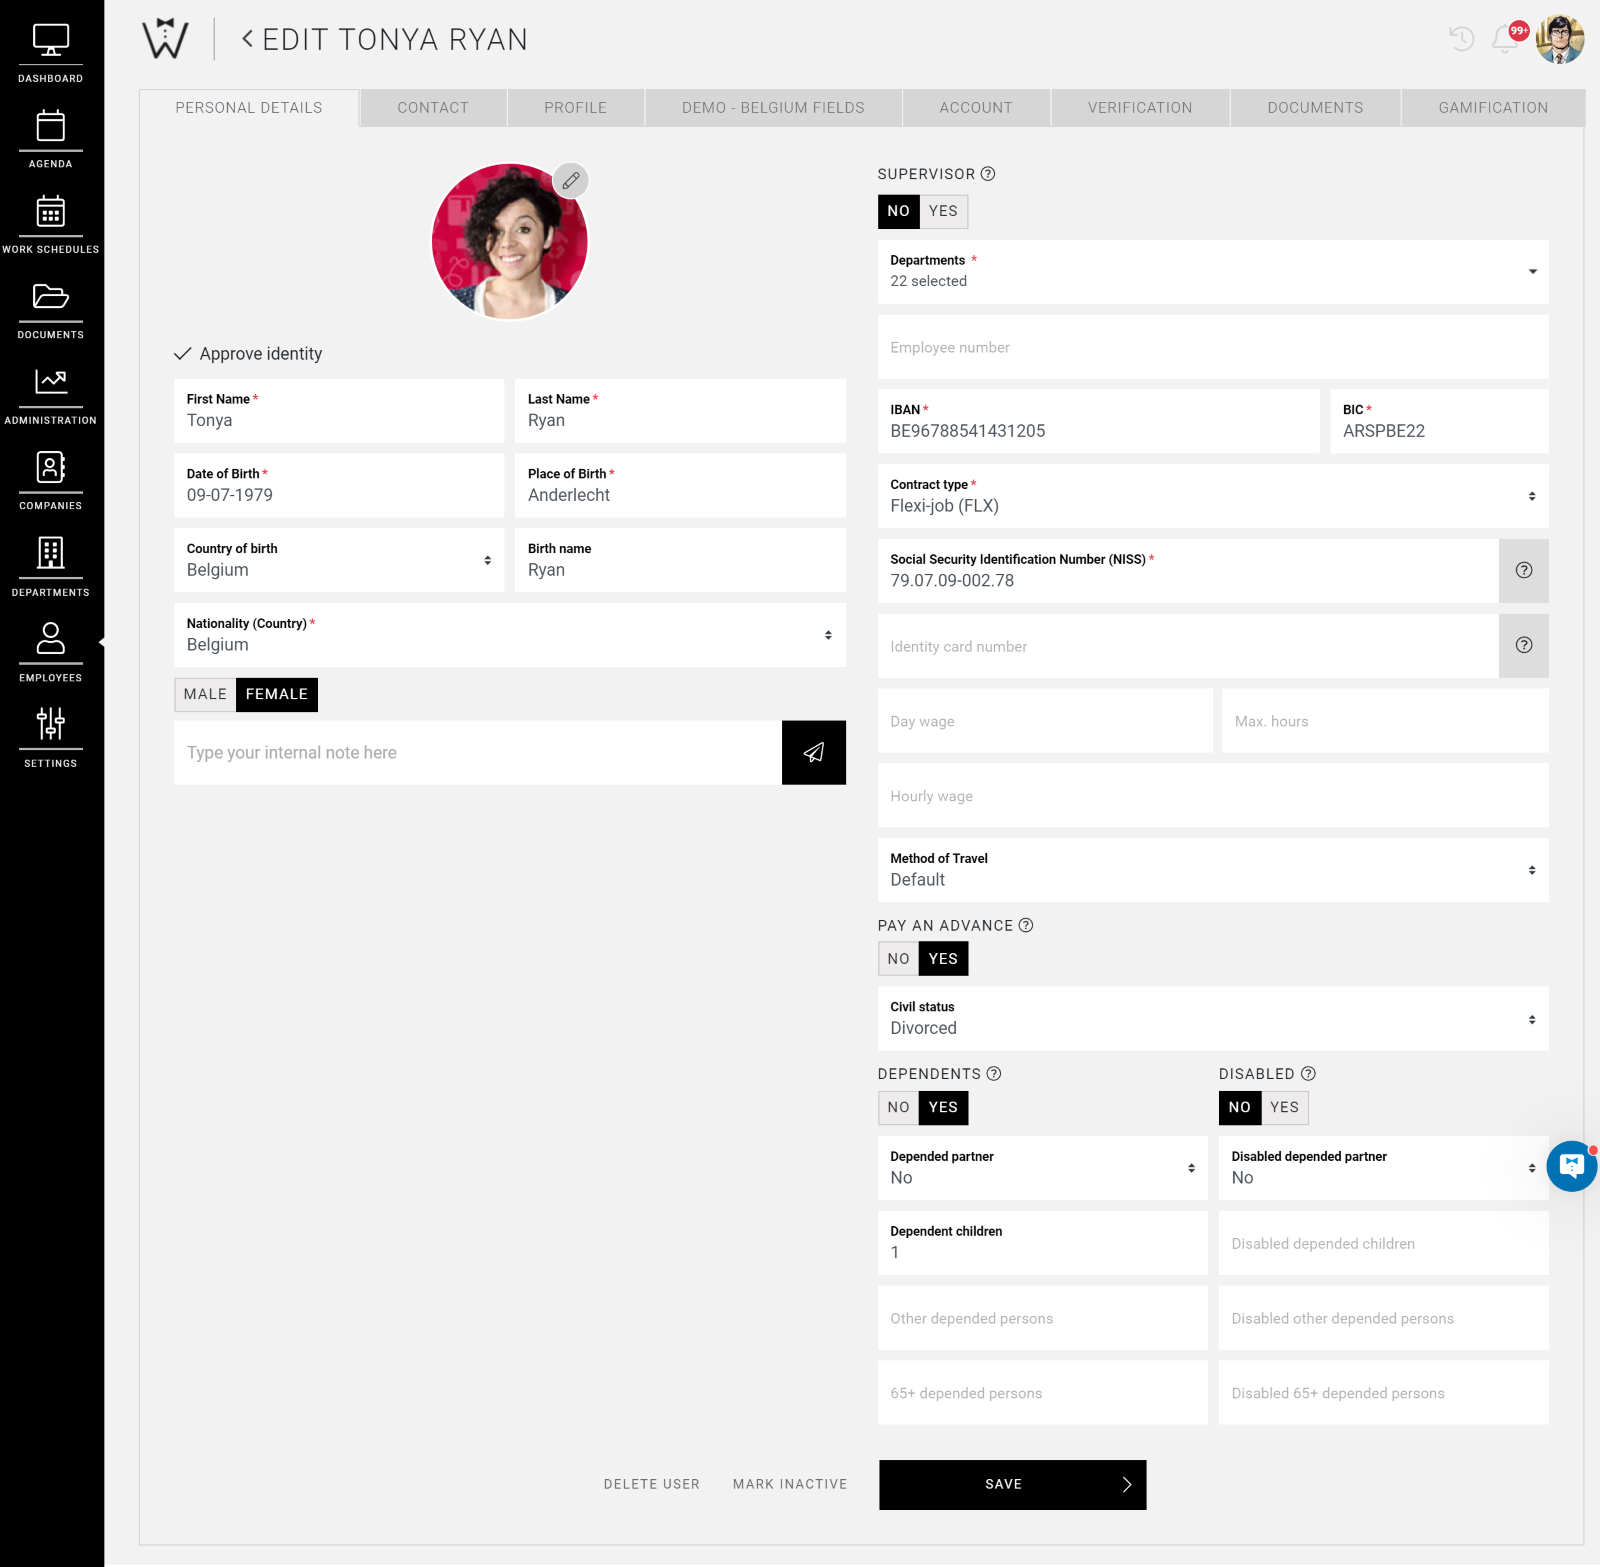
In the employee profile we collect all information of an employee, you can always view and/or edit these. The personal data you will find here will have been completed by the employee or a manager during the registration process.
CrewTip! Read the article about the registration process to find out which fields your employees are required to complete.
As a processor of employee data, you must comply with your local legislation to handle your employees' personal information.
The employee's profile consists of several tabs in which information is collected or settings are saved.
CrewTip! How you can add or invite an employee we discuss in our article on EMPLOYEES.
Employee statuses
Active
As soon as you invite or add an employee, they are assigned the status active by default. This is not shown as a label on the employee card, but it allows you to obtain a quick overview of your active or inactive employees through the status filter.
Inactive
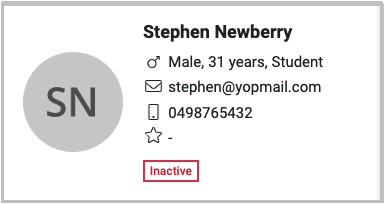
We will discuss this status in more detail later in this article, but you can put an employee on inactive instead of deleting him. The employee card will then also show the Inactive label.
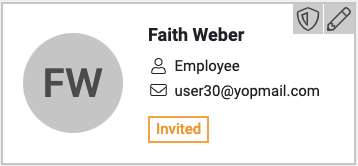
Invited
The employee will see this status when you invite them through the employee page, or when they responded to a registration link but stopped the process without completing it fully.
CrewTip! CrewPlanner will send a reminder email to the invited employee every 7 days to create an account.
After the employee has gone through the entire registration process, you as a manager will have to approve the identity of the employee. You will receive a notification for doing so in your notifications.
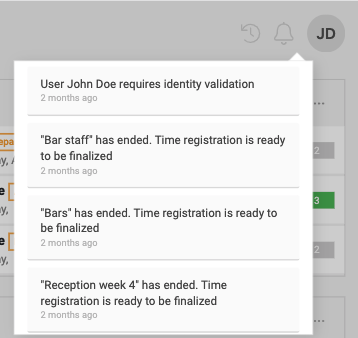
If you select this notification, you will be taken to the employee's profile.

Here you can check the entered data of the employee; you approve the employee's identity via APPROVE IDENTITY in green.
On the EMPLOYEES page you can view all employee cards.
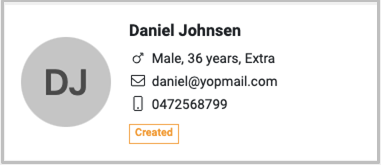
Created
In this instance, the employee's profile was created and completed by a manager. Login details are shared with the employee so that they can log in the first time.
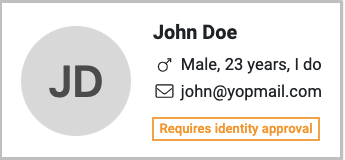
Requires identity approval
If the employee does add documents, the employee card will display a requires identity approval label.
CrewTip! Use the filter status on the employee page to get a quick overview of the profiles you need to approve.
Also know, employees can already submit availabilities even if they are not yet approved.
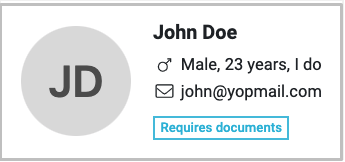
Requires documents
After the registration process, the employee might be asked to upload documents for verification. The default setting for required documents used in CrewPlanner is Proof of identity and Bank card, but this can be amended in DOCUMENT VERIFICATION in SETTINGS.
CrewTip! Learn more about requesting documents for verification here.
The employee will receive a notification of this through a pop-up:

The employee has the option to skip this step, but only three times. After the third time, the employee will be forced to add the documents before being able to continue in the app.
The planner will see this label on the employee card until they have added the documents. However, this status does not prevent the manager from approving the identity of the employee without these documents being added.
Documents unchecked
As soon as the employee has uploaded verification documents, as discussed above, they will receive the label documents unchecked until a manager has performed the check. This allows you to ensure that the documents an employee uploads and the information they enter meets the requirements.

You mark a document as checked, by accessing the VERIFICATION tab in the employee profile and ticking the box for each document followed by SAVE.
CrewTip! Use the filter status on the employee page to get a quick overview of the profiles you need to check.

Verified
As mentioned earlier, once an employee has registered, you must approve or verify that employee. Once you have verified the identity of an employee, the employee will be given the Verified status. This is not shown as a label, but you can select this status in the filter.
CrewTip! Until the employee profile is approved, the employee will not receive any notifications or e-mails, even if they are already scheduled. So they will not be notified of project changes, documents being uploaded or messages being sent. After the profile has been approved, they will only receive notification of actions taken after the approval.
View employee profile
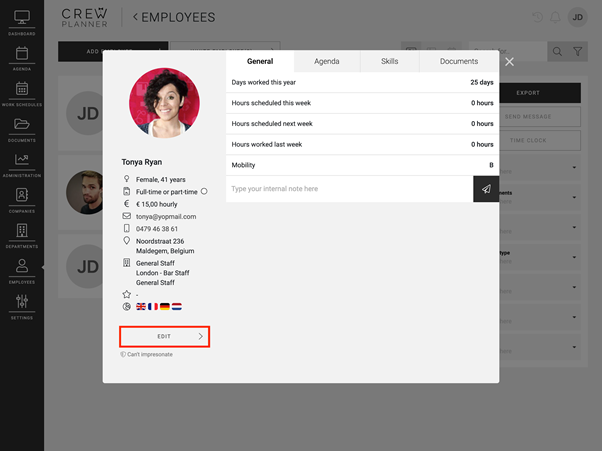
You can always view a profile via the employee pop-up. This pop-up will appear everywhere in CrewPlanner when you select an employee's name. After you select EDIT, you will be directed to the employee's profile and you will always land on the first tab PERSONAL DETAILS.
You have the following tabs in the employee profile:
Personal details
Here you will find the PERSONAL DETAILS of the employee. They complete this information themselves during the registration process, but after that, only a manager can edit personal details. Here you can also give an employee supervisor status by selecting YES or NO.

The employees only sees the following information in their profile:

Contact
On the CONTACT tab you will find the employee's telephone number and address. Here you might also have the employee's in case of emergency contact person information. These are not mandatory fields, so some of your employees may not have entered information here.
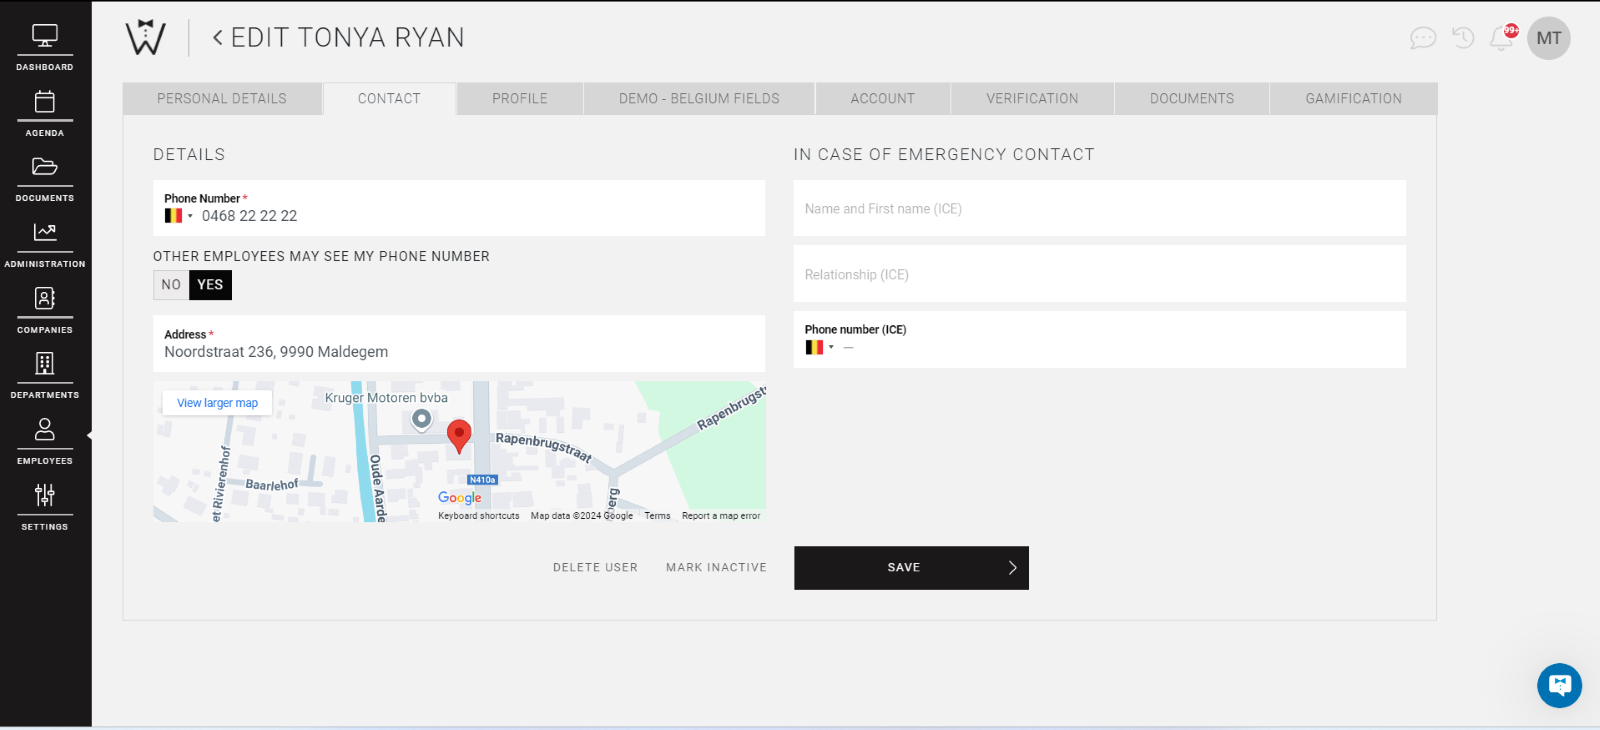
CrewTip! Employees can update their phone number in their profile; however, they do not have the option to delete it entirely. This ensures that contact information remains accessible for necessary communications.
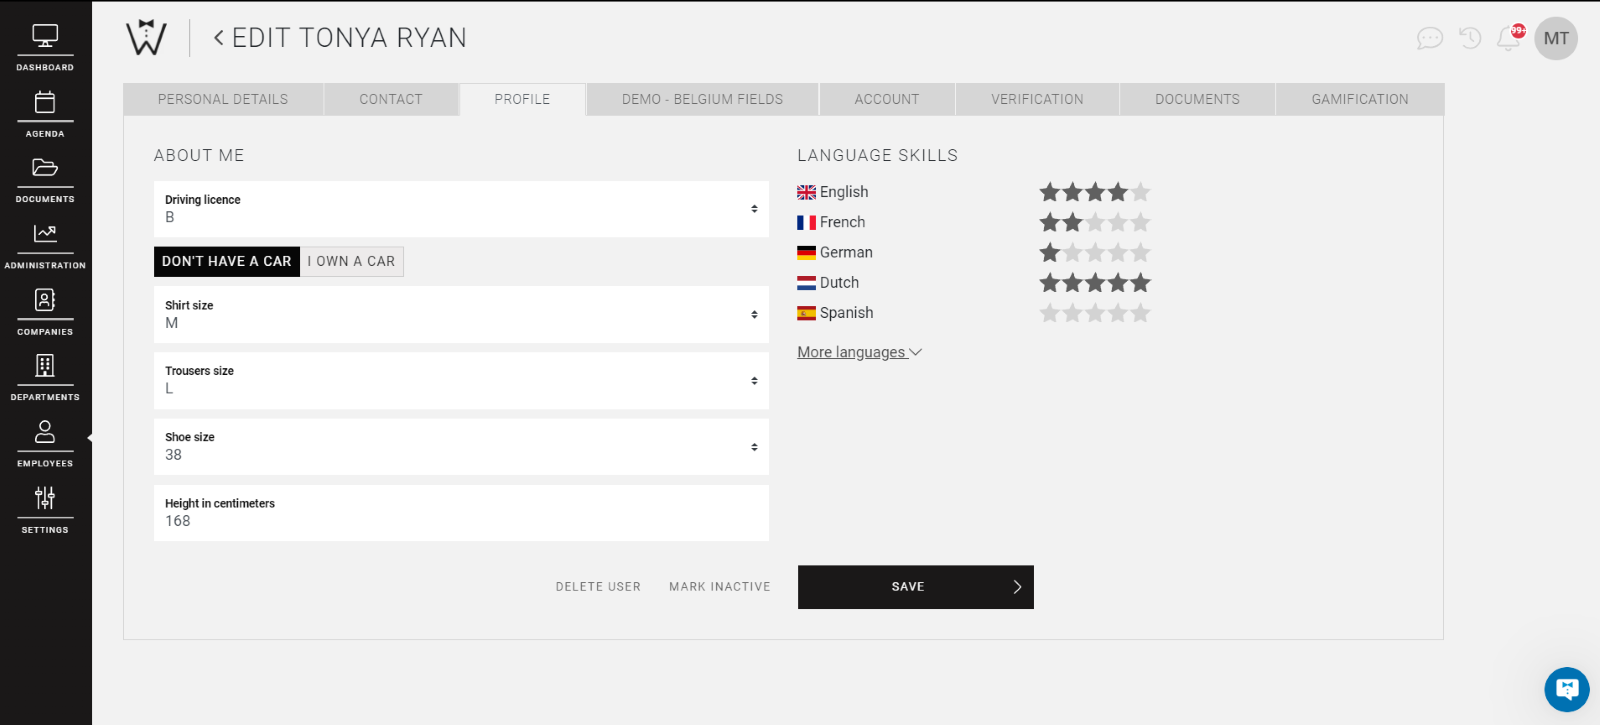
Profile
On the PROFILE tab you will be able to verify or note the languages the employee can speak, if they have a driver's license and a car, as well as information on their clothing sizes and height. Select More languages to add more.
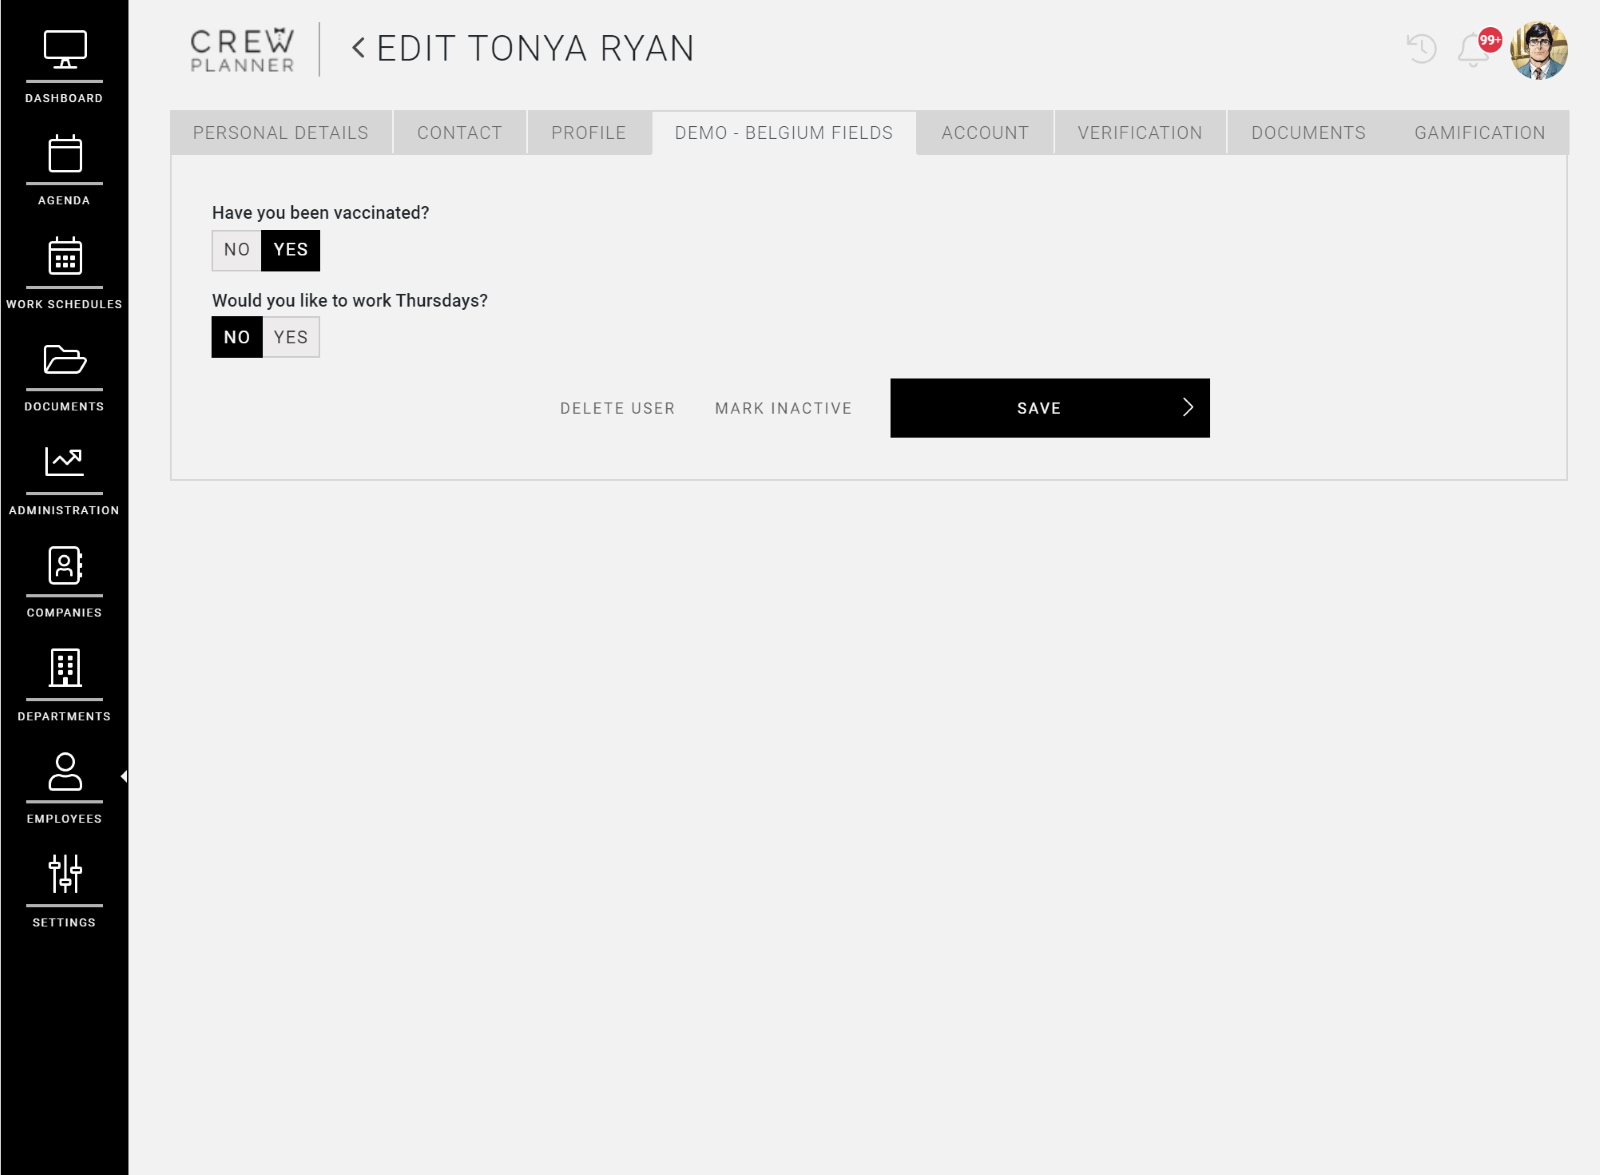
Custom fields
The FIELDS tab is only present if you use custom fields for employees. As you can imagine, all the custom fields you have created for your employees are displayed here, along with the answers they have entered. However, you can still edit the answers here.
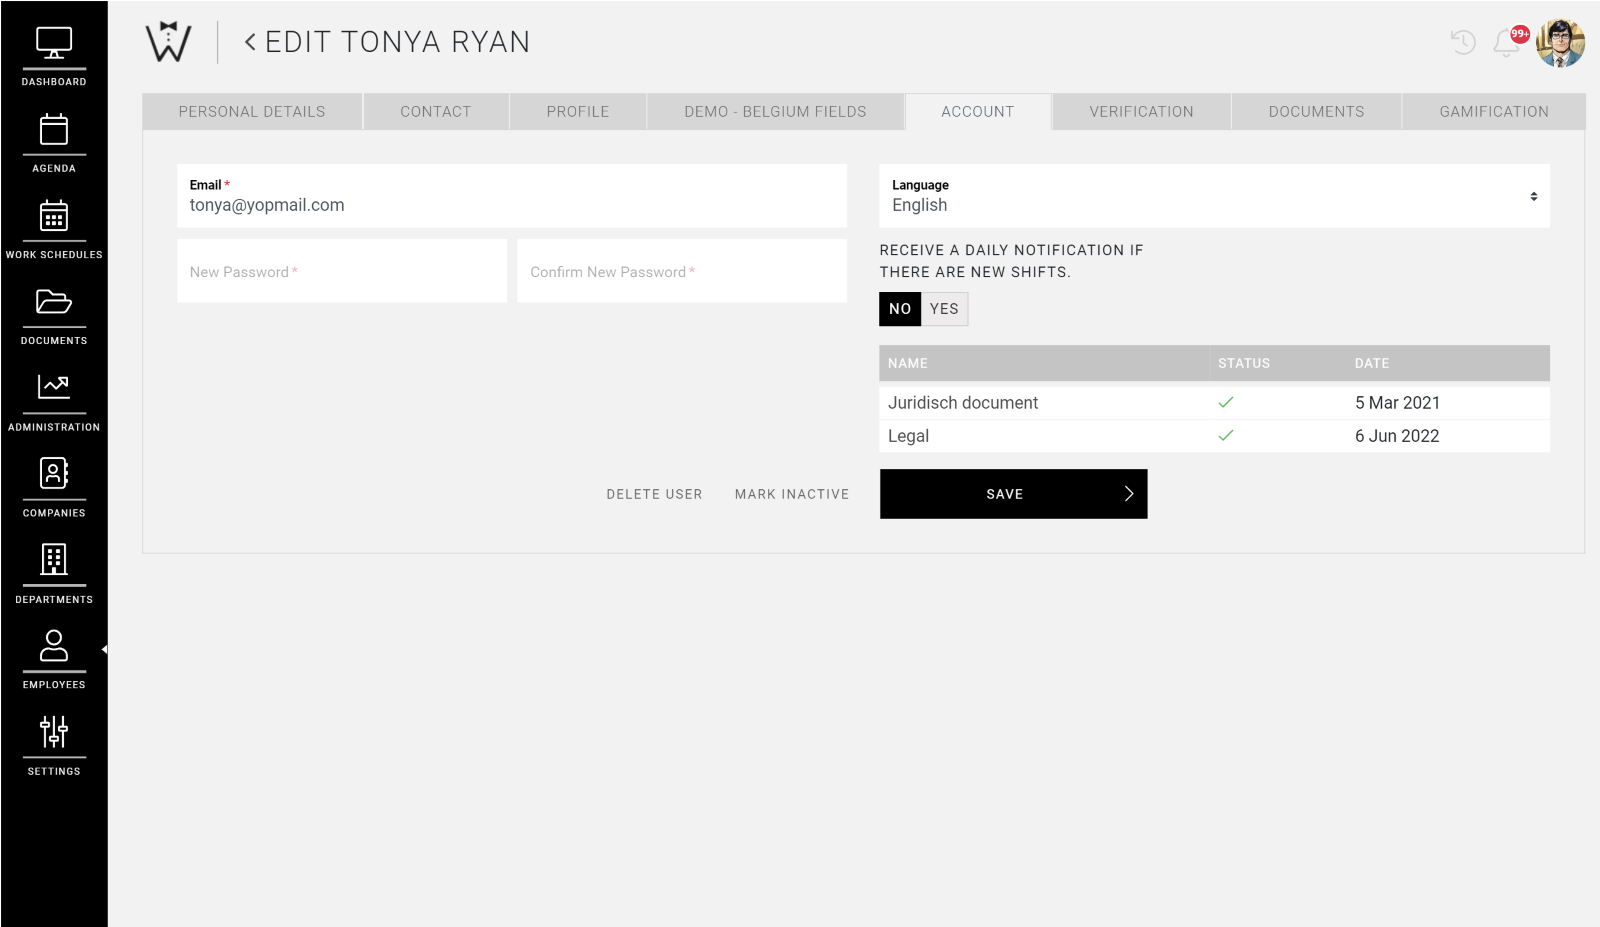
Account
Here you will find the ACCOUNT details of the employee; being their email address and the chosen language of the application. Here you can also assign a new password to the employee or select whether they should receive an email to ask their availability.
Verification
As soon as the employee has uploaded documents for VERIFICATION, you will find these here with their expiration dates. You will also have the option to mark each document as checked by ticking the box.

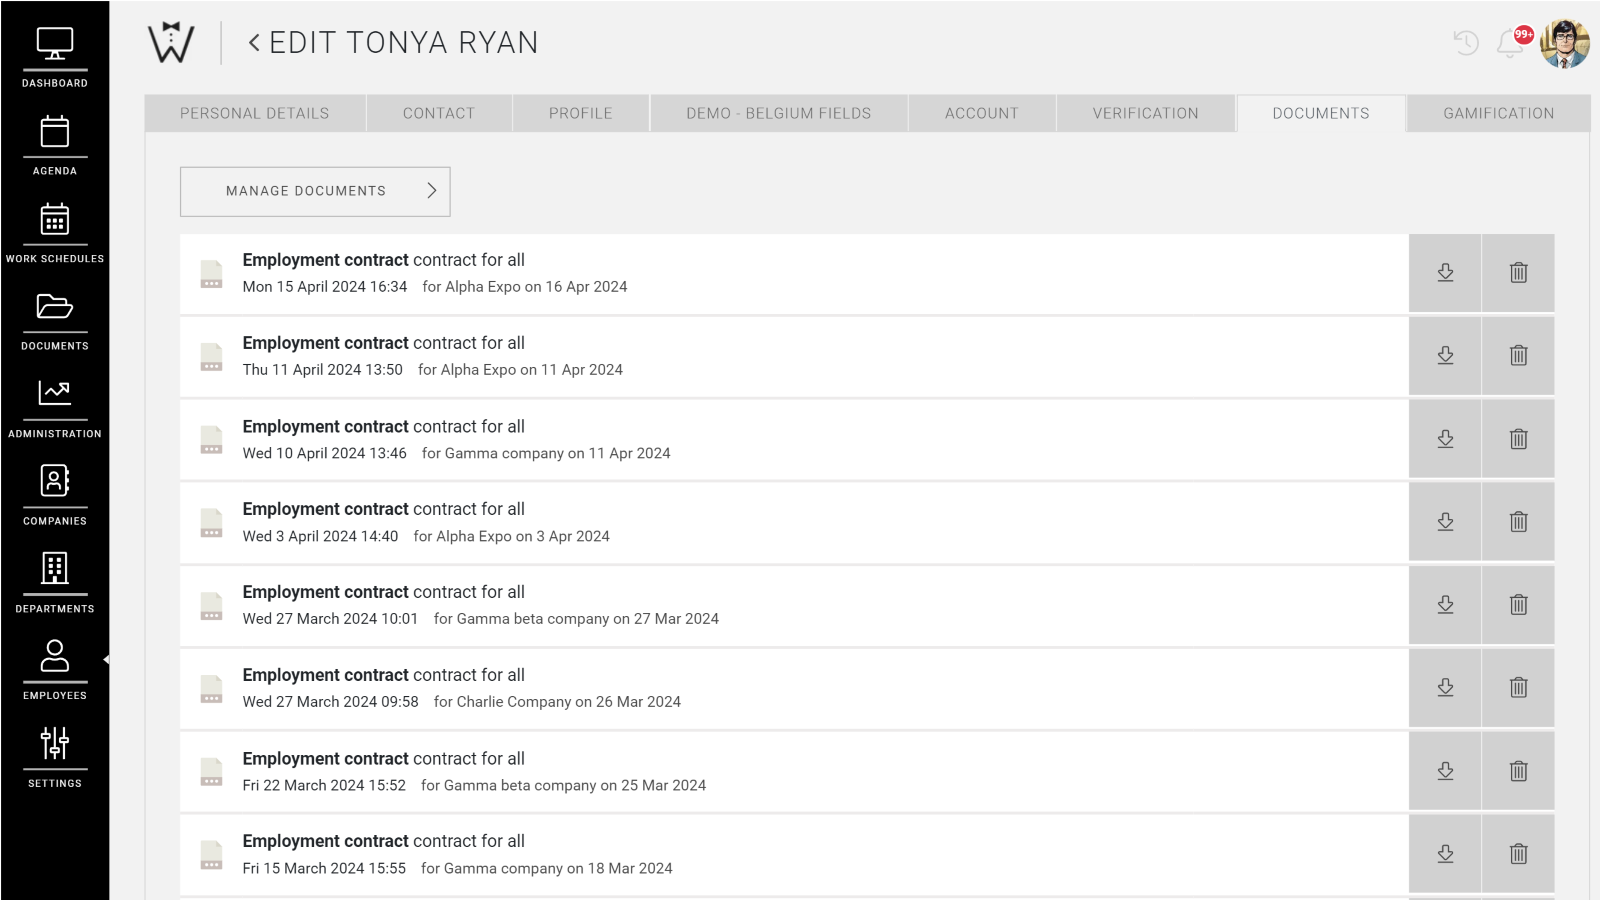
Documents
The DOCUMENTS tab will only be visible if documents were uploaded by and for the employee and you will find these here.
Edit employee profile
You can open any employee profile at any time to modify data by selecting their name. Anywere you select the employee pop-up in CrewPlanner, you will find EDIT at the bottom left.
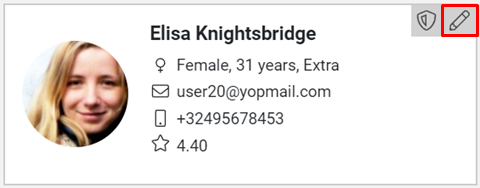
But you can also navigate to the EMPLOYEES page in the menubar. From the employee card overview you also have the option to edit the profile by selecting the pencil icon.
CrewTip! If you adjust data in an employee profile, such as contract type or salary, data already entered for shifts which still need to take place, are not automatically adjusted. You must remove this employee from future shifts and reschedule so that the changes are also applied to those shifts.
After editing the employee profile, you must always select SAVE so that your changes are saved.
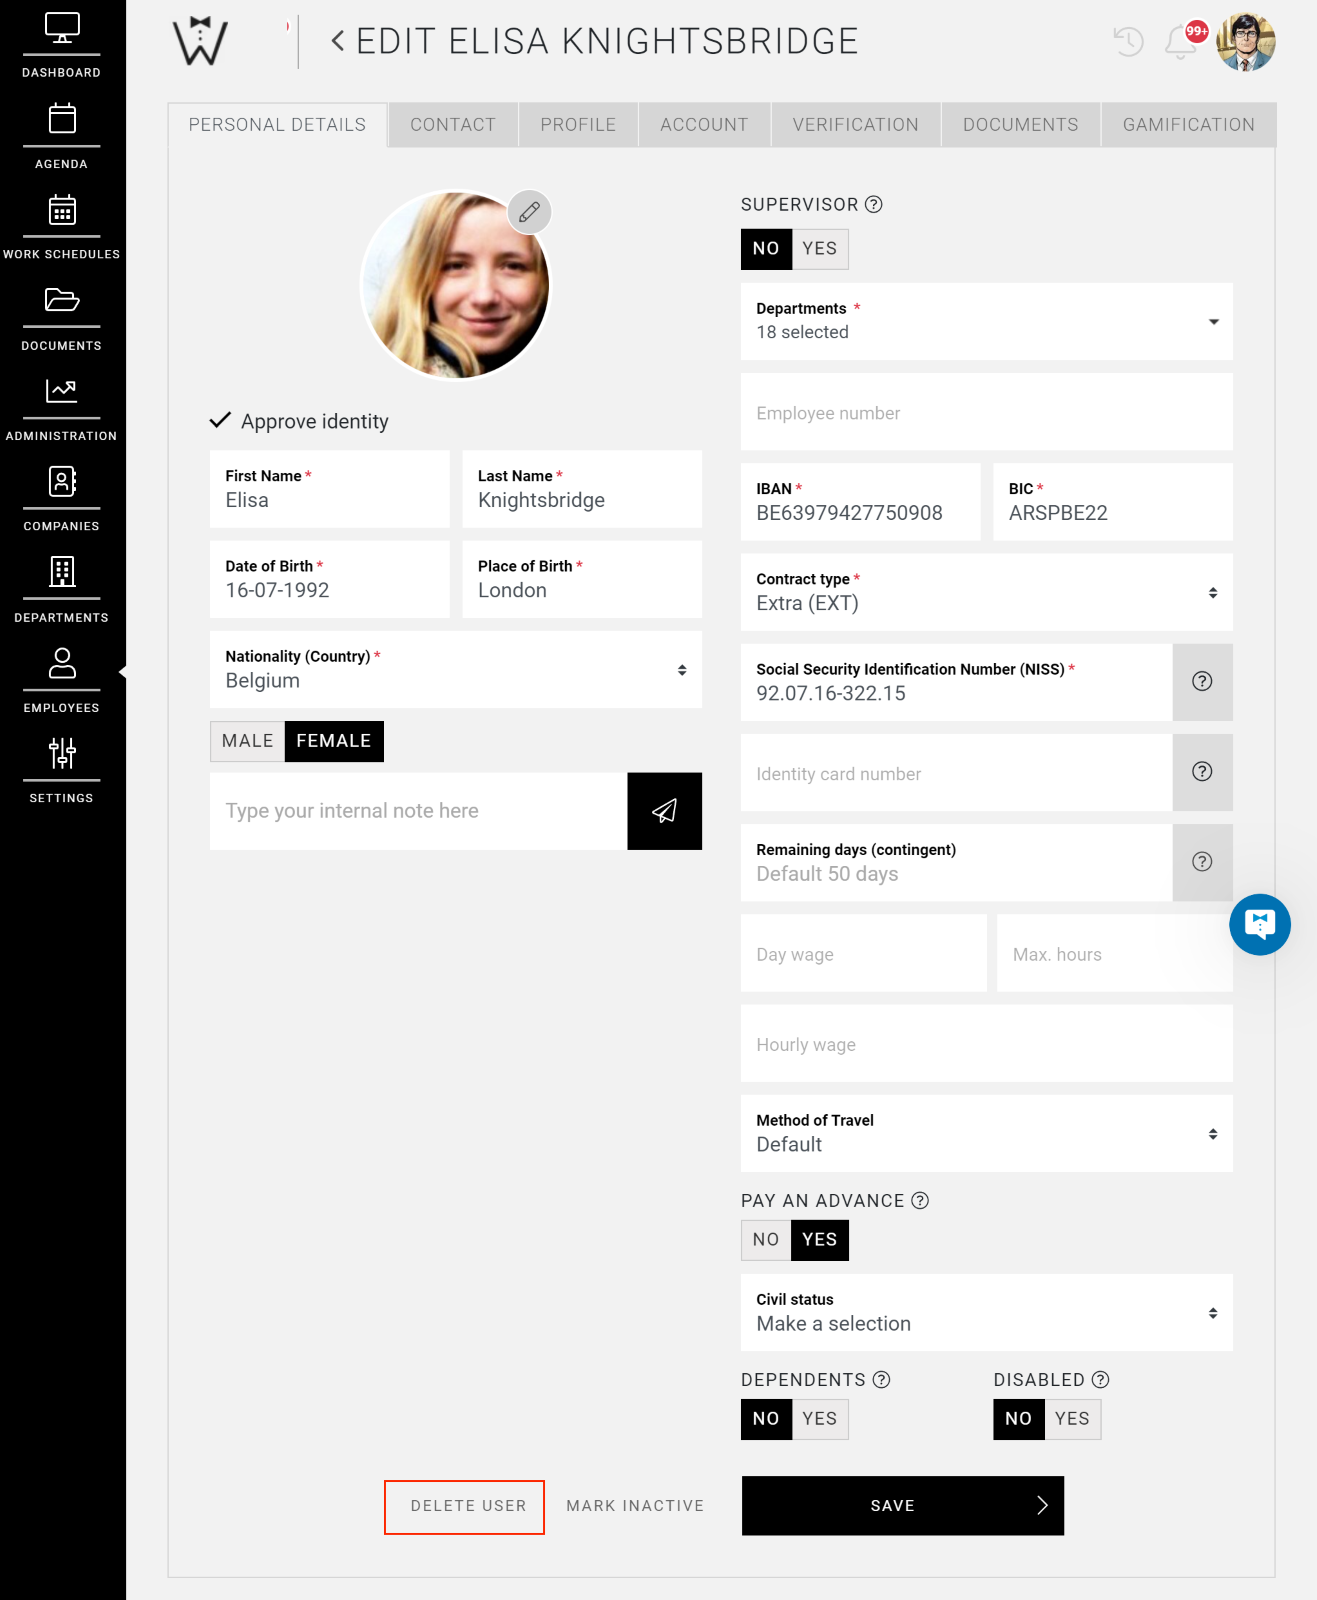
Delete employee profile
To delete an employee profile, first select EDIT, then navigate all the way to the bottom of the page. Here you will find DELETE USER next to SAVE.
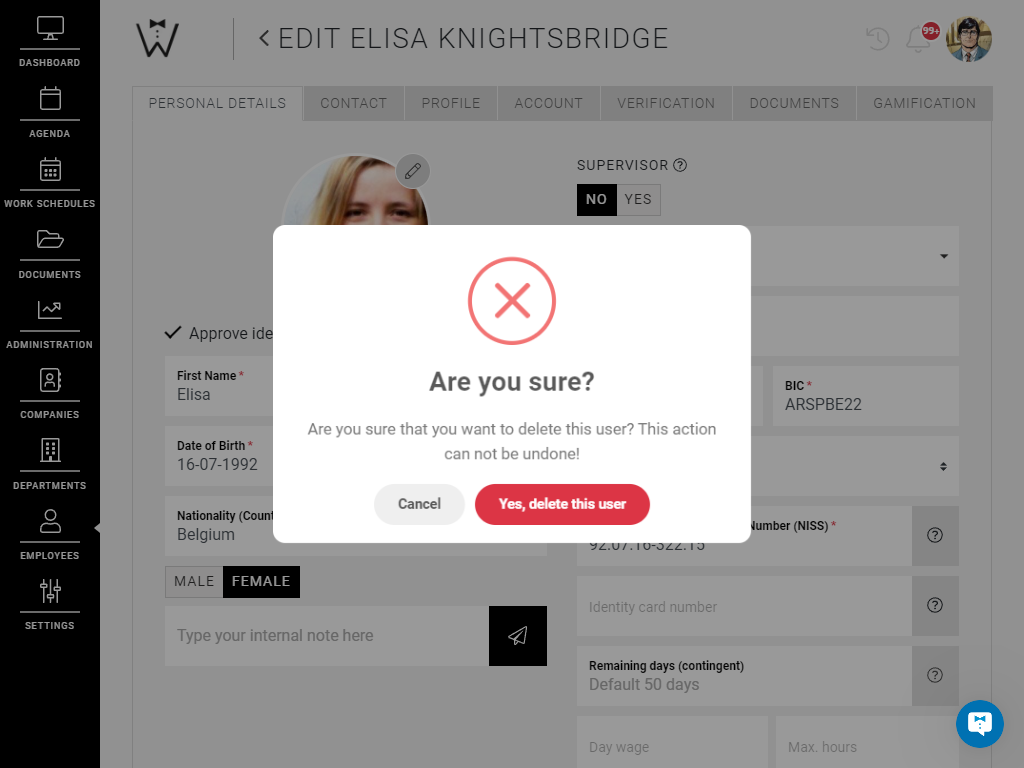
When selecting this, you will receive a pop-up asking you to confirm this choice.
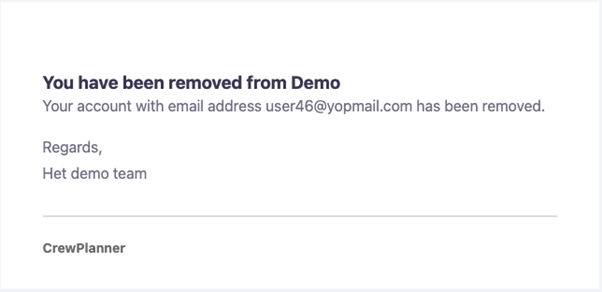
As soon as you confirm this, the employee will receive an email with a message that his profile has been removed.
CrewTip! The employee, if still scheduled, will automatically be removed from the upcoming projects.
You will always keep an overview of the hours worked by this employee via the reporting page.
Mark employee as inactive
Instead of deleting a profile, you can also mark an employee as inactive. This means that the profile will not be removed from your CrewPlanner account. This has two advantages compared to deleting an employee.
-
The employee cannot be invited again for an account.
-
You will retain all documents associated with the employee profile
The employee cannot be invited again for an account.
You will retain all documents associated with the employee profile
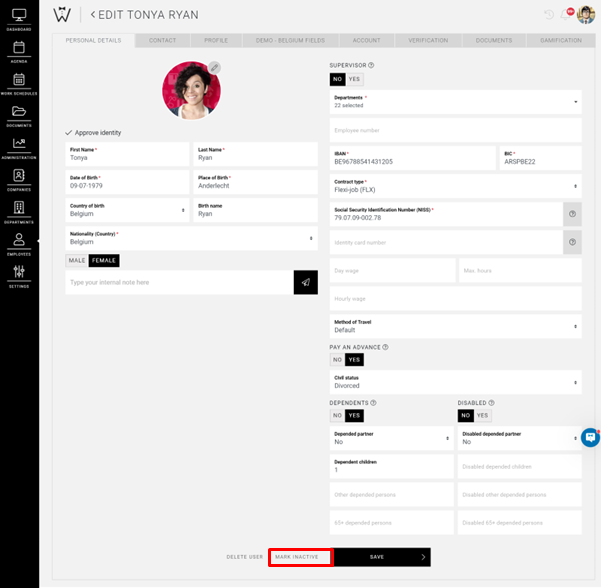
To mark an employee as inactive, edit the employee's profile. At the bottom you select MARK INACTIVE:
A pop-up will appear in which you can give a reason why the employee in question is put on inactive.
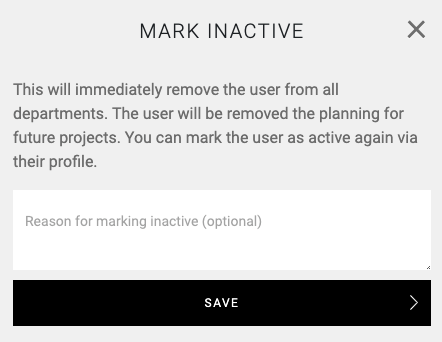
Once you select SAVE the employee will be removed from all their departments, and from all future shifts.
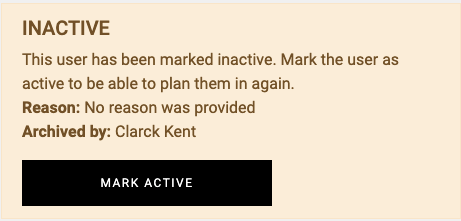
You can always consult the reason given in the employee's profile, as well as who marked the employee inactive and when.

On the EMPLOYEES page, you can easily recognize inactive employees by the label seen on the employee card.

The employee pop-up will also indicate when an employee has been marked inactive.
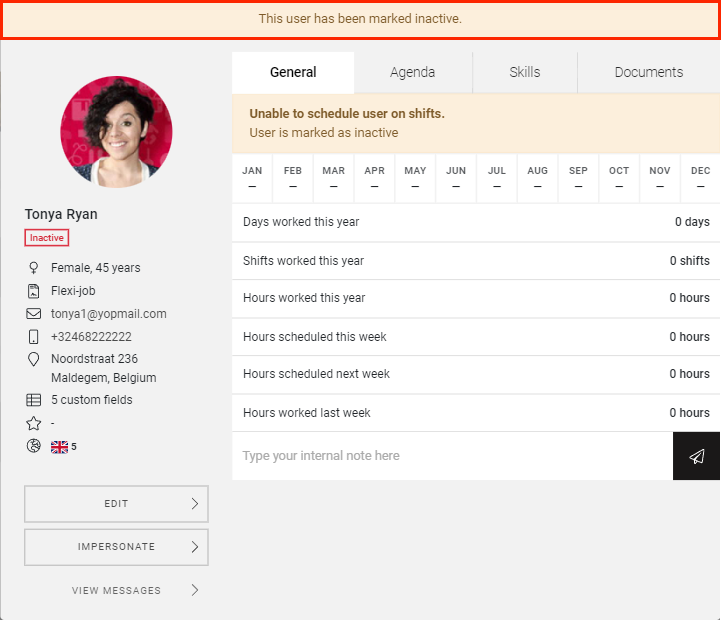
The employee will not receive any notification in the app that their profile is inactive. They can still log in with their credentials but, will no longer see upcoming projects on the availability page.
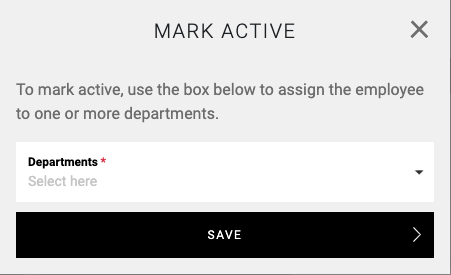
You can always reactivate an inactive employee by editing the employee's profile and select MARK AS ACTIVE.
Select the departments you wish to assign the employee to in the pop-up. After you have saved this change, the employee can share their availabilities with you again for upcoming shifts in the app.
Impersonate employee
As a manager you have the option to impersonate an employee. This means that you can look into the desktop view of the employee's profile.
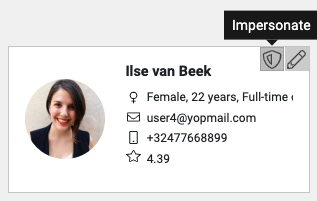
If you wish to impersonate an employee, navigate to the employee pop-up and select IMPERSONATE underneath EDIT. Or you select the shield icon on the employee's card.
With this functionality, you can check whether the employee has done everything necessary in the app to sign up or be available for upcoming projects.
Please note! The overview you see here is the desktop view of the employee application and not the employee application itself.
You cannot impersonate employees who have multiple profiles associated with their account. It will be clearly stated if this is the case.

We hope this article has helped you!
If you still have questions, first take a look at our Crew Academy. Here you might find the answer in one of our articles.