Add an image to your attributes.
Table of contents
Add an image to your attributes
How is the image displayed to employees
Introduction
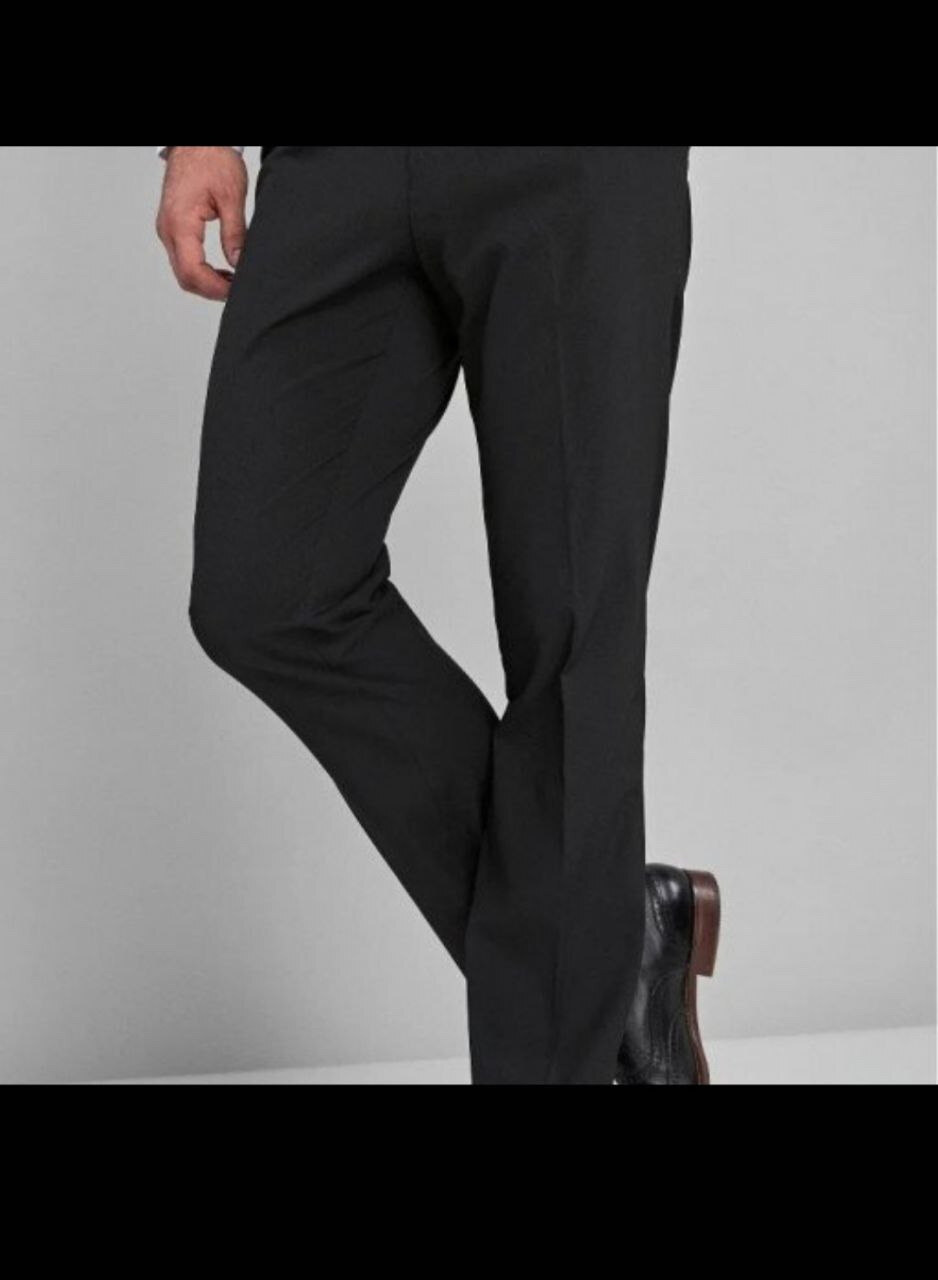
You can clarify the supplies your employees need to bring, the clothes they need to wear for their shift or even the tasks of a project by adding an image that is also displayed in the app.
Add an image to your attributes
In SETTINGS navigate to ATTRIBUTES where you manage your attributes, clothing and tasks.
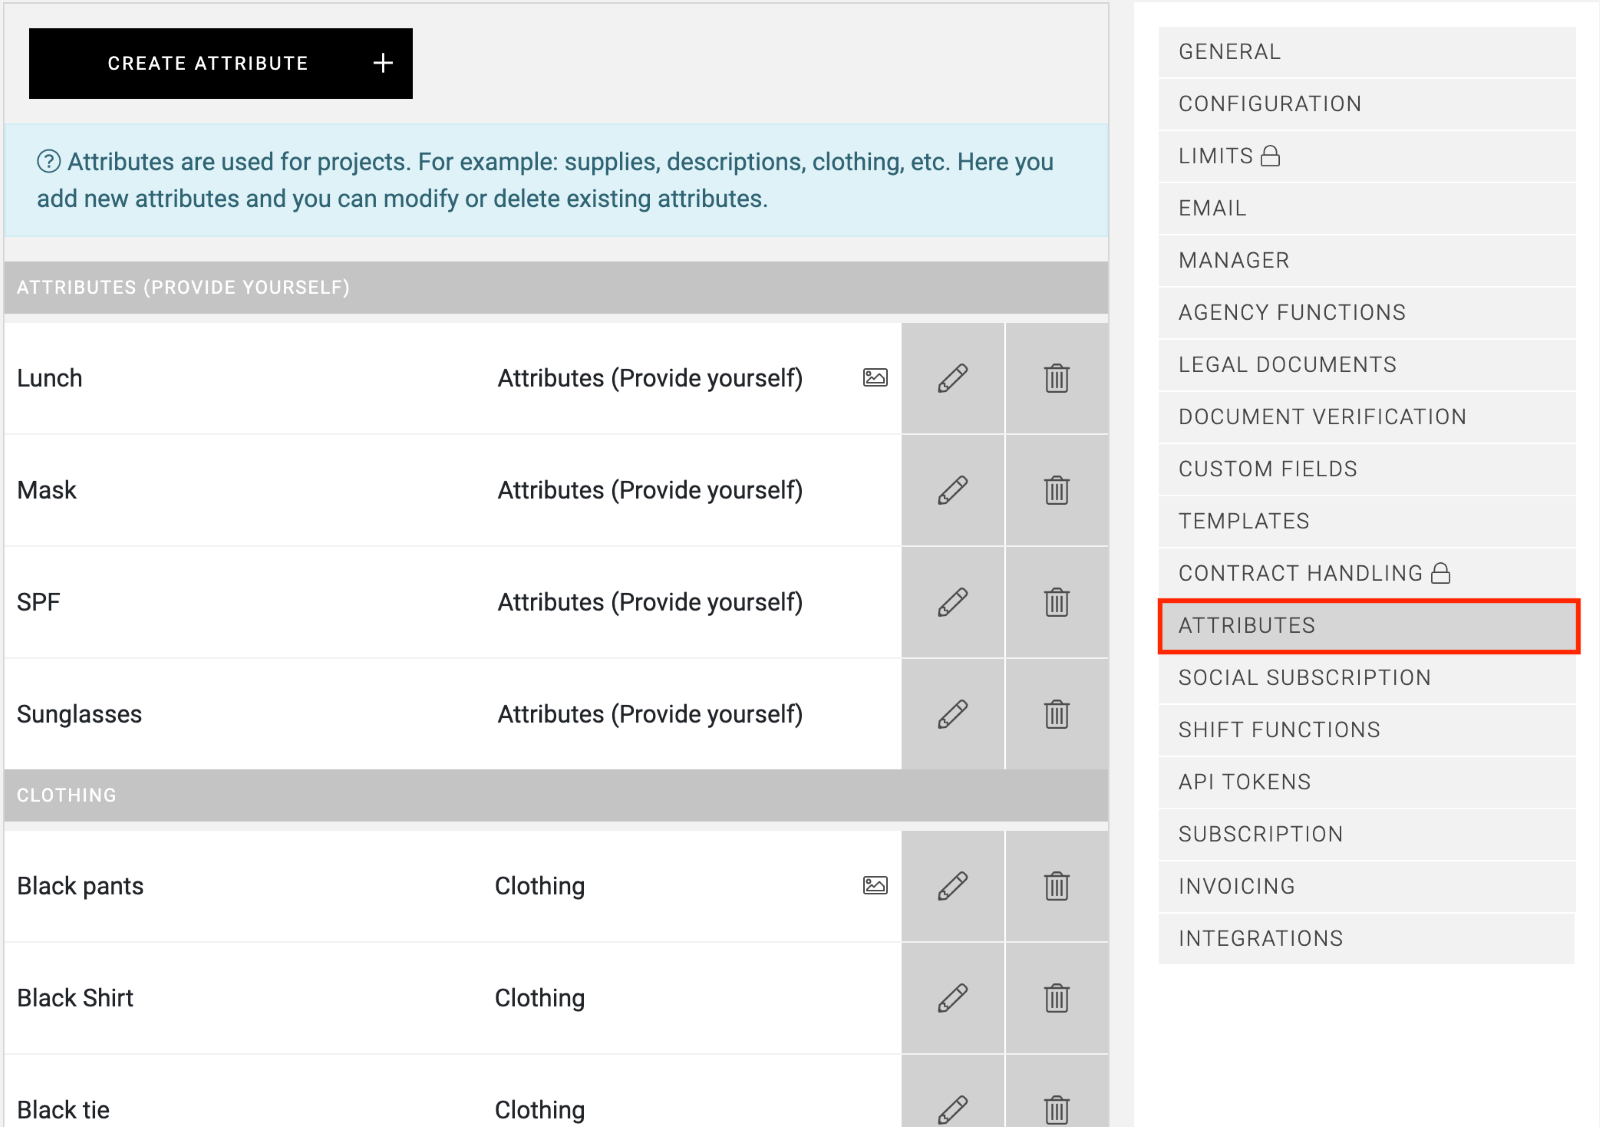
Select the pencil icon to edit the attribute for which you would like to add an image.
Find a file on your computer or drag it into the field under IMAGE:
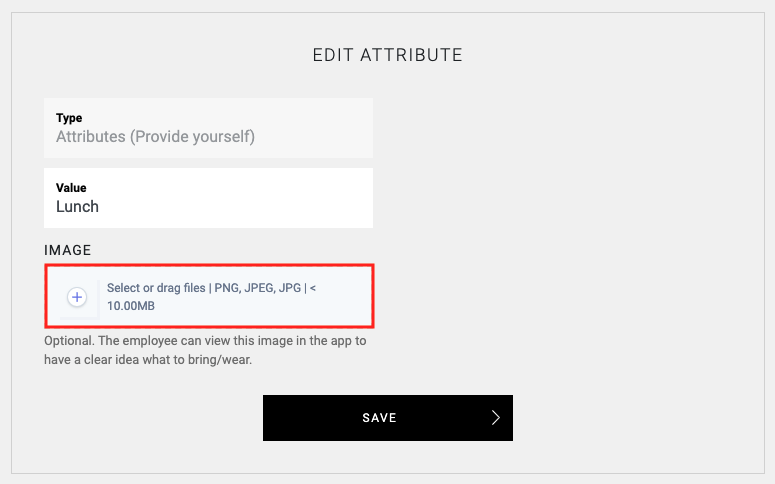
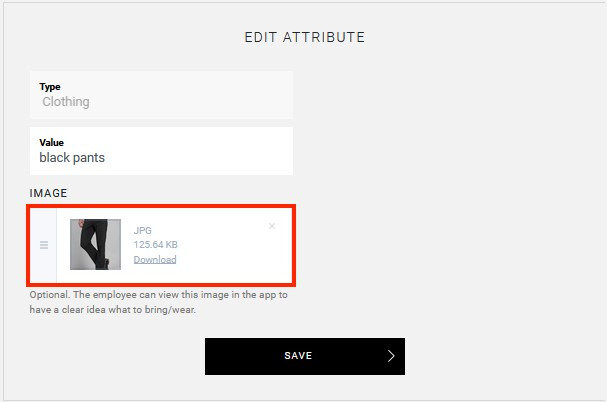
Only images of type PNG, JPEG or JPG are allowed with a maximum size of 10MB. Then select SAVE and a small version of your image will be displayed.
In the overview of the attributes you can easily recognise attributes with an image by the following icon:

You will also find this icon on the detail page of a project next to the attributes with an image. The image itself appears when you place the cursor on the attribute.
How is the image displayed to employees
As soon as the employee is scheduled, he or she receives a notification and the project is displayed in the app in NEXT UP or the AGENDA. When the employee views the project data, all attributes to which an image has been added will be underlined.
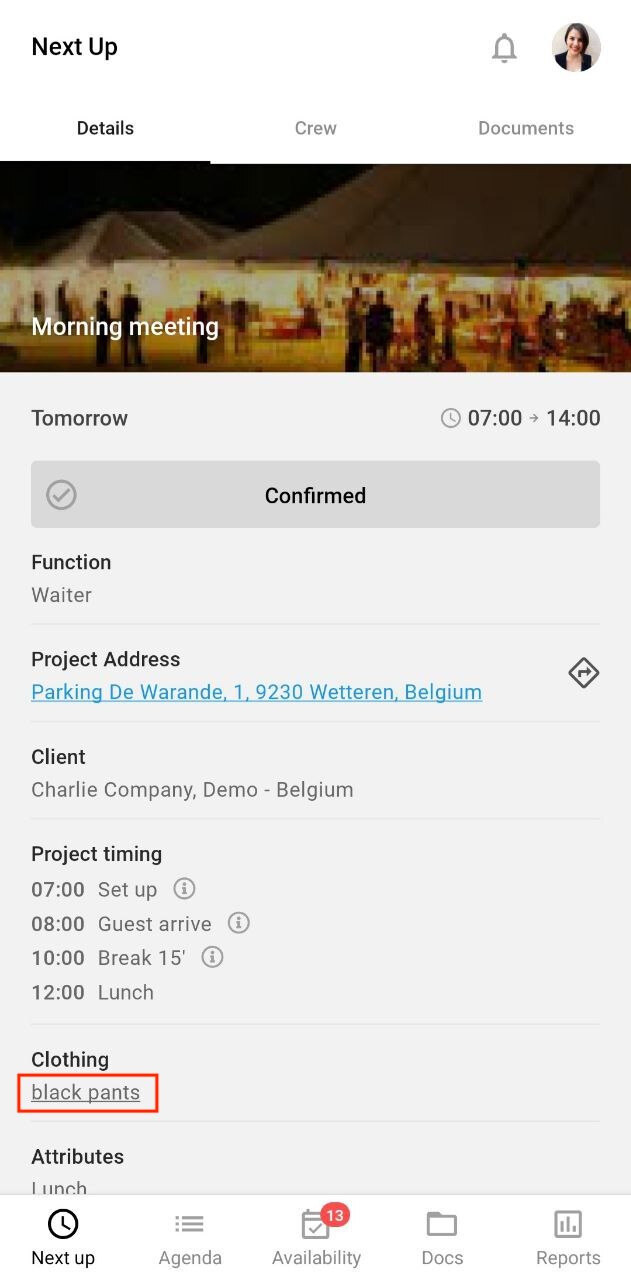
The image will open when the attribute is selected.
We hope this article has helped you!
If you still have questions, take a look at our Crew Academy first. You might find the answer in one of our articles.