Next up
The page that will always display your next project.
The page that will always display your next project.
Table of contents
Introduction
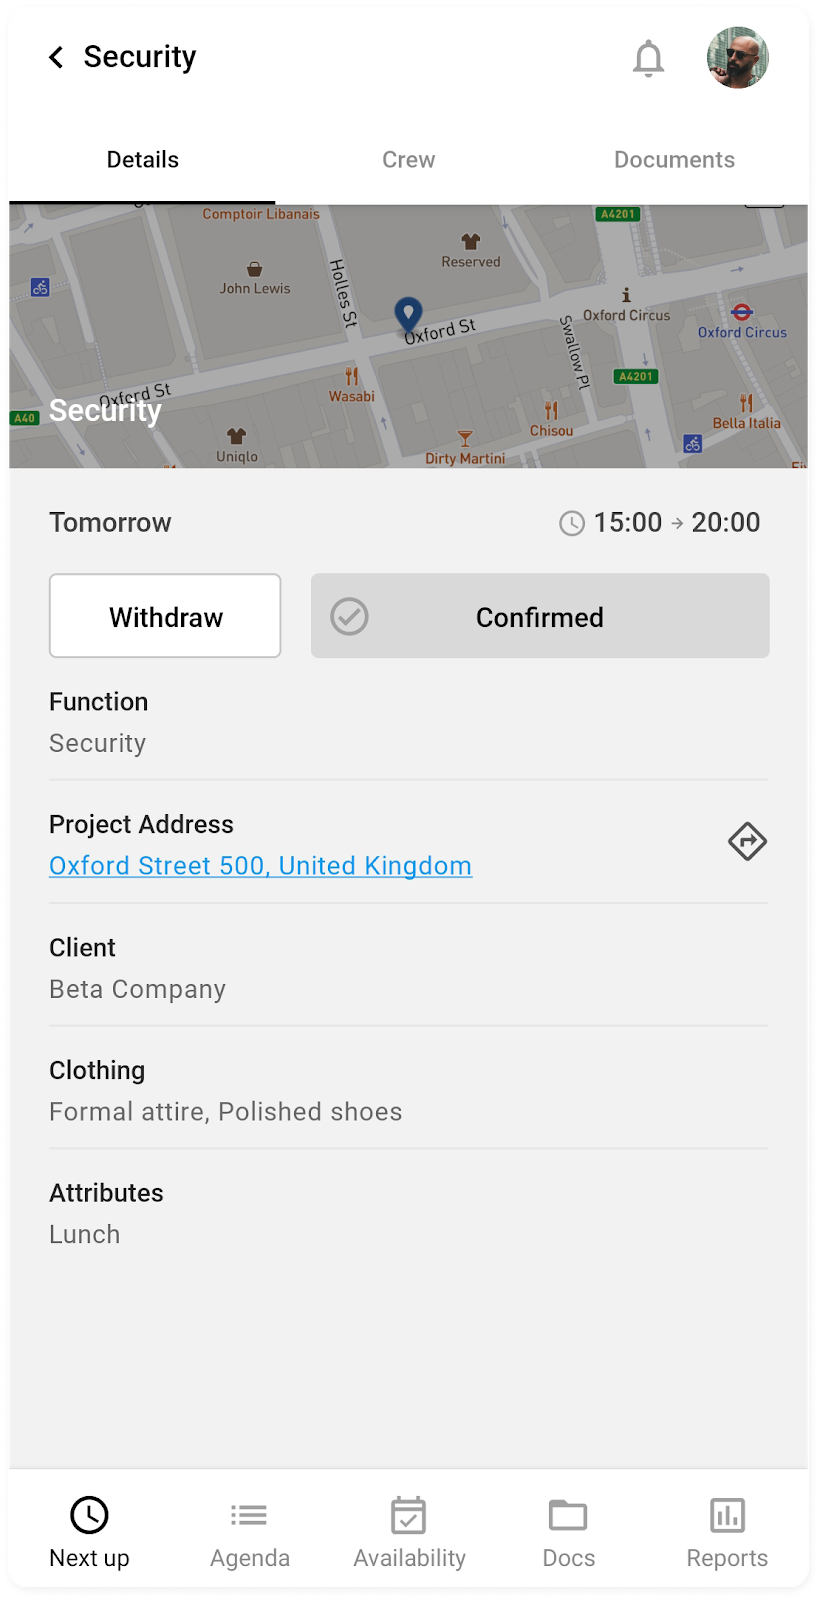
When you open the CrewPlanner app you will always end up in the NEXT UP page. If you have been scheduled for a project, you will see here the detail page of your next project.
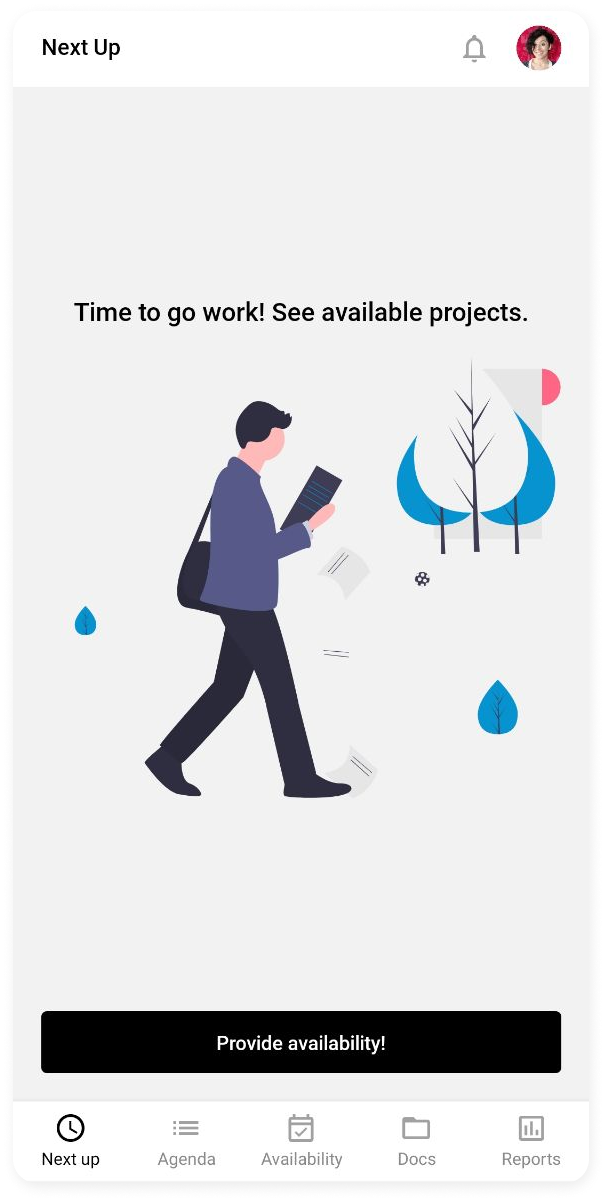
If you are not yet scheduled for a next project, you will see at the bottom PROVIDE AVAILABILITY, which will take you to the AVAILABILITY page. Here you can immediately share your availability on upcoming projects, or share your day's availability. You can read all about it in this article.
CrewTip! On the "Next Up" page in the app, the next project will only appear 14 days before its start date, so make sure to check closer to the project’s scheduled start for details. The day before the start of your shift, you will receive a notification.
Consult project
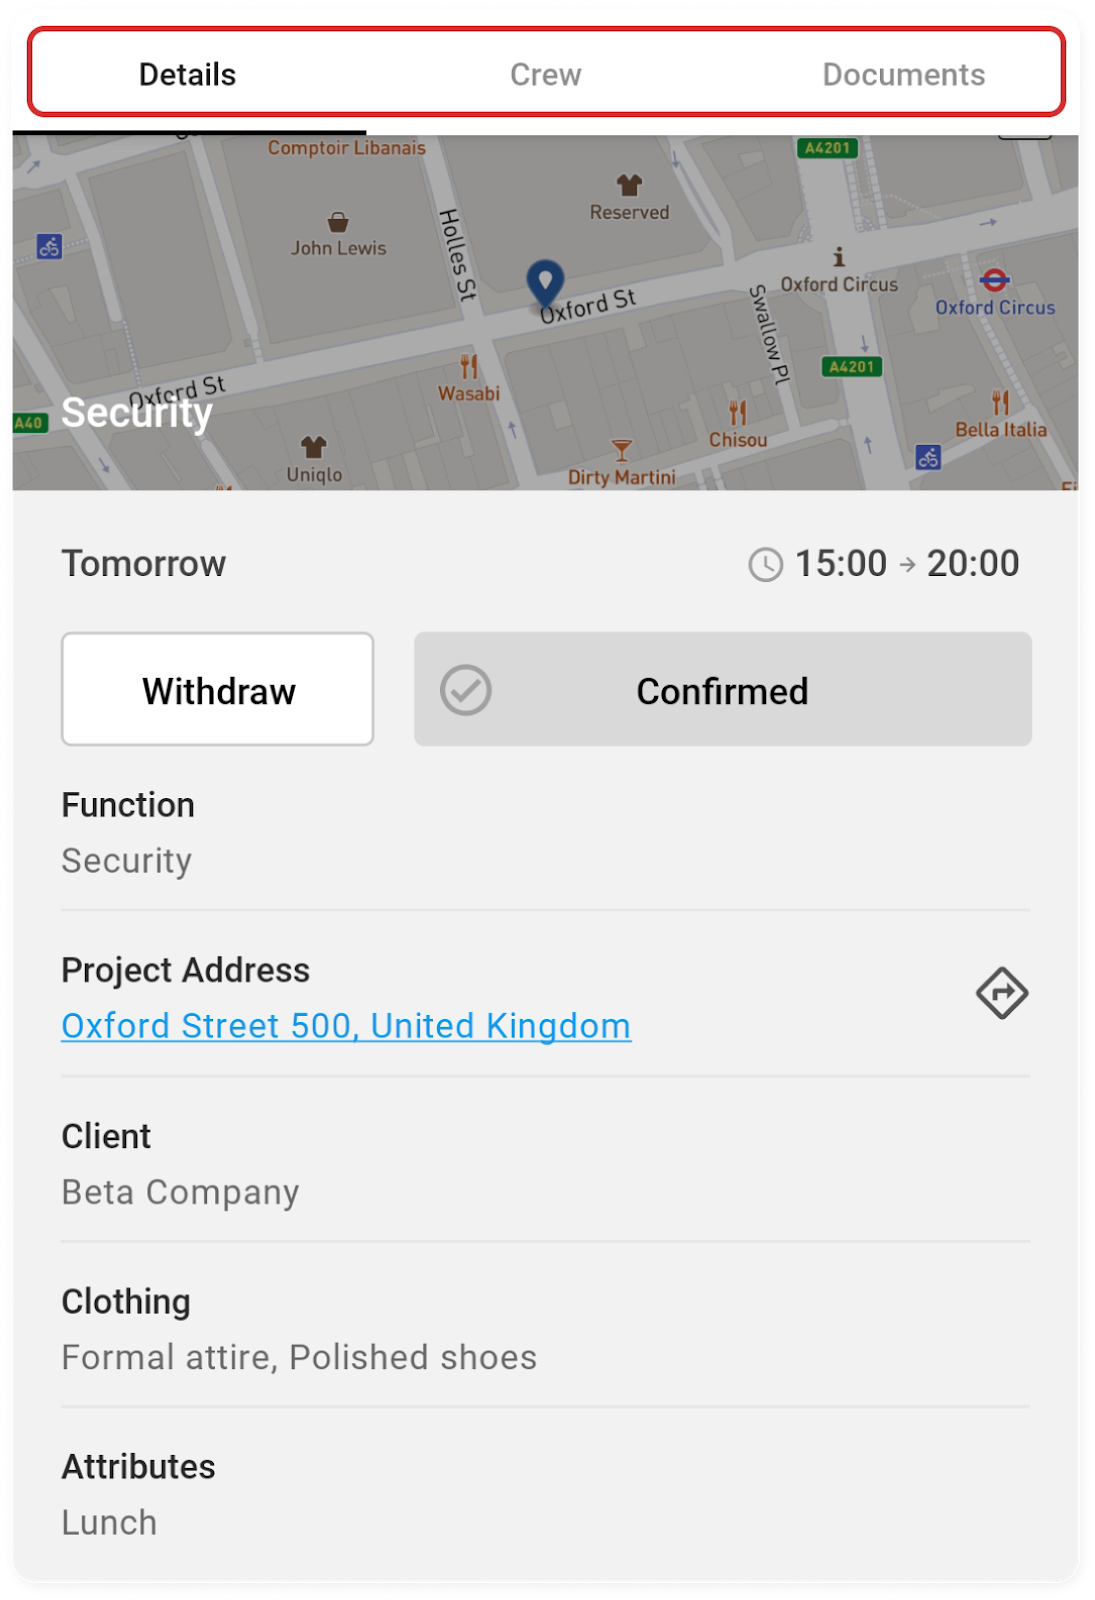
At the top you will see 3 tabs:
Details
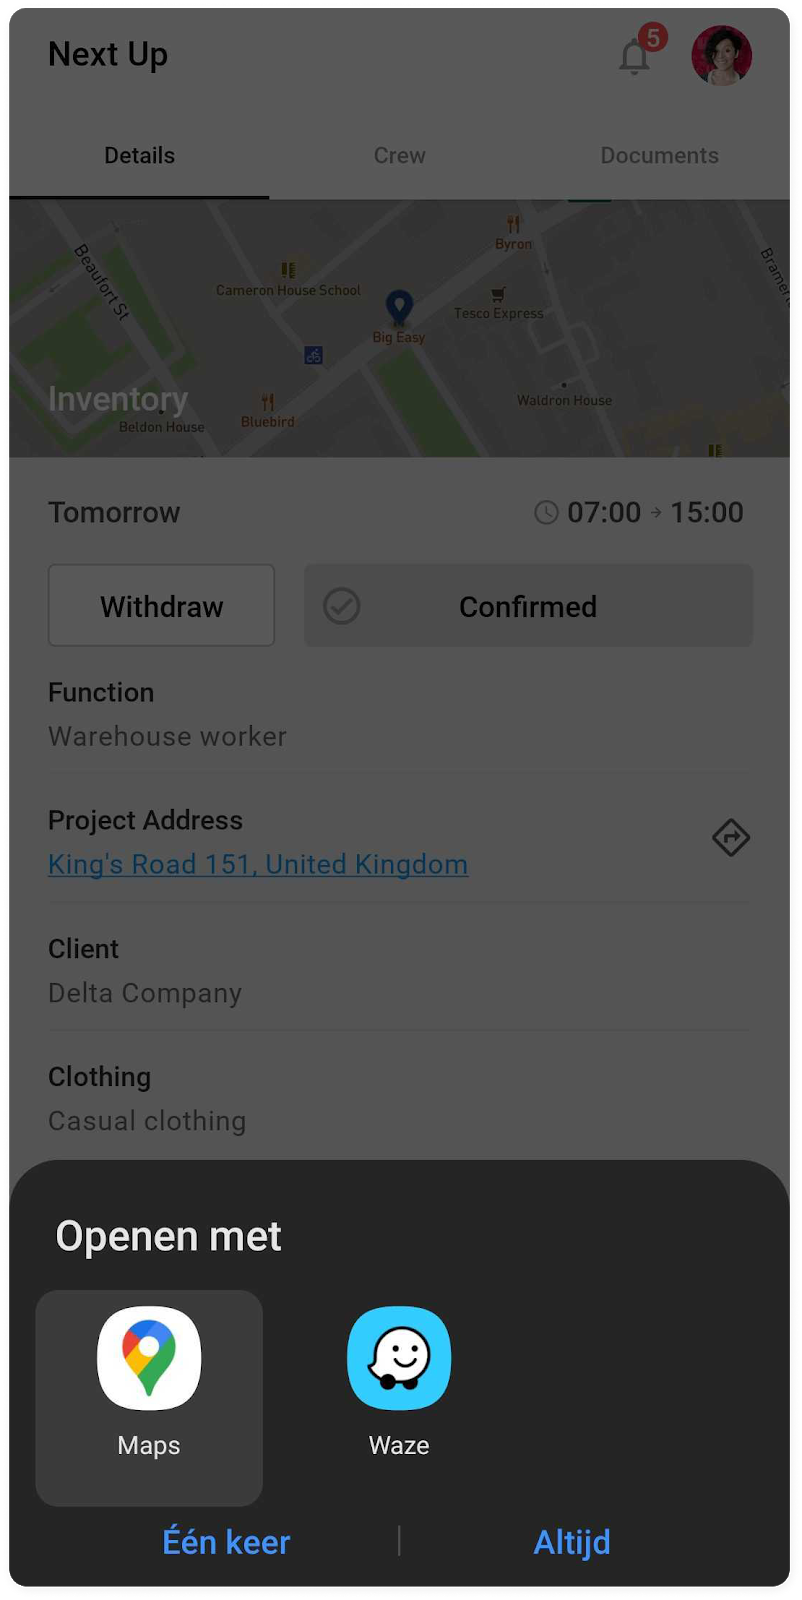
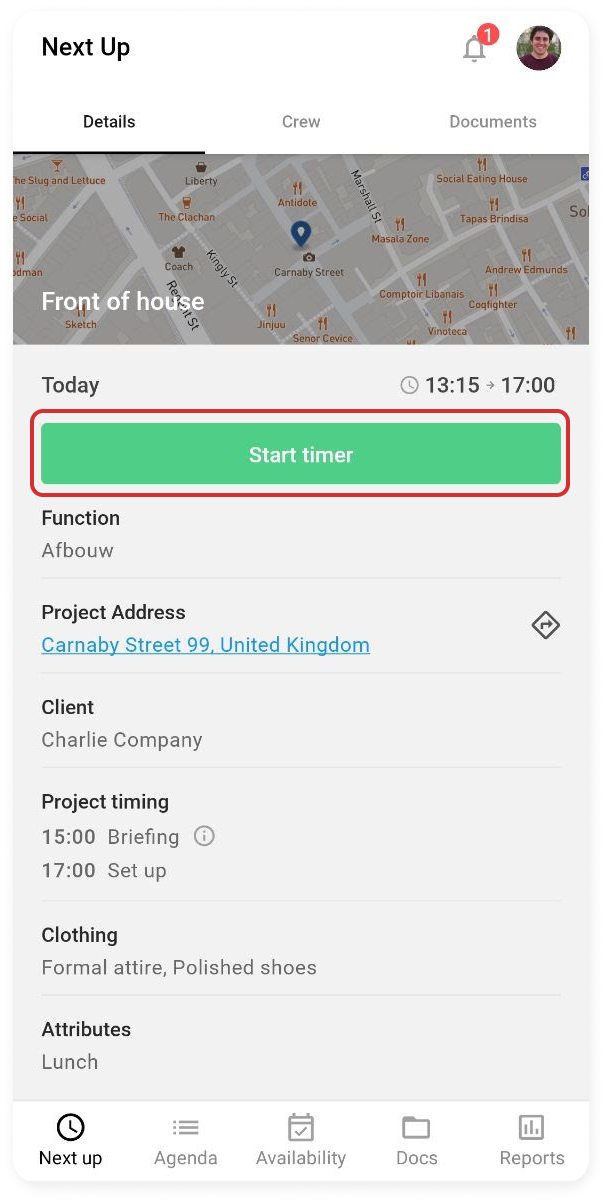
Under Details you will see all the relevant information that your employer wishes to share with you. You can also start route guidance right away by selecting the address.
Crew
In Crew you will find your colleagues for this job:
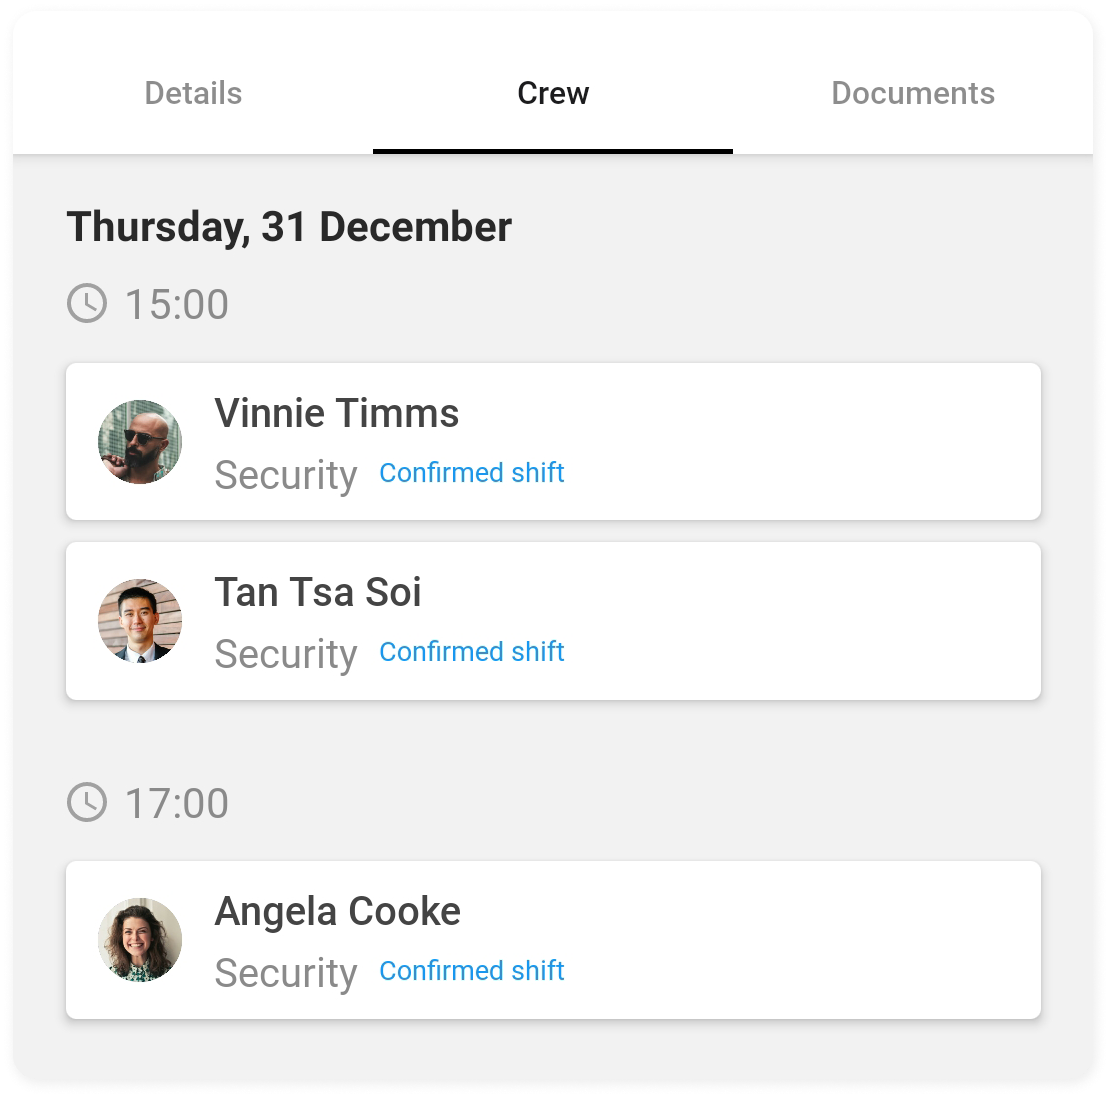
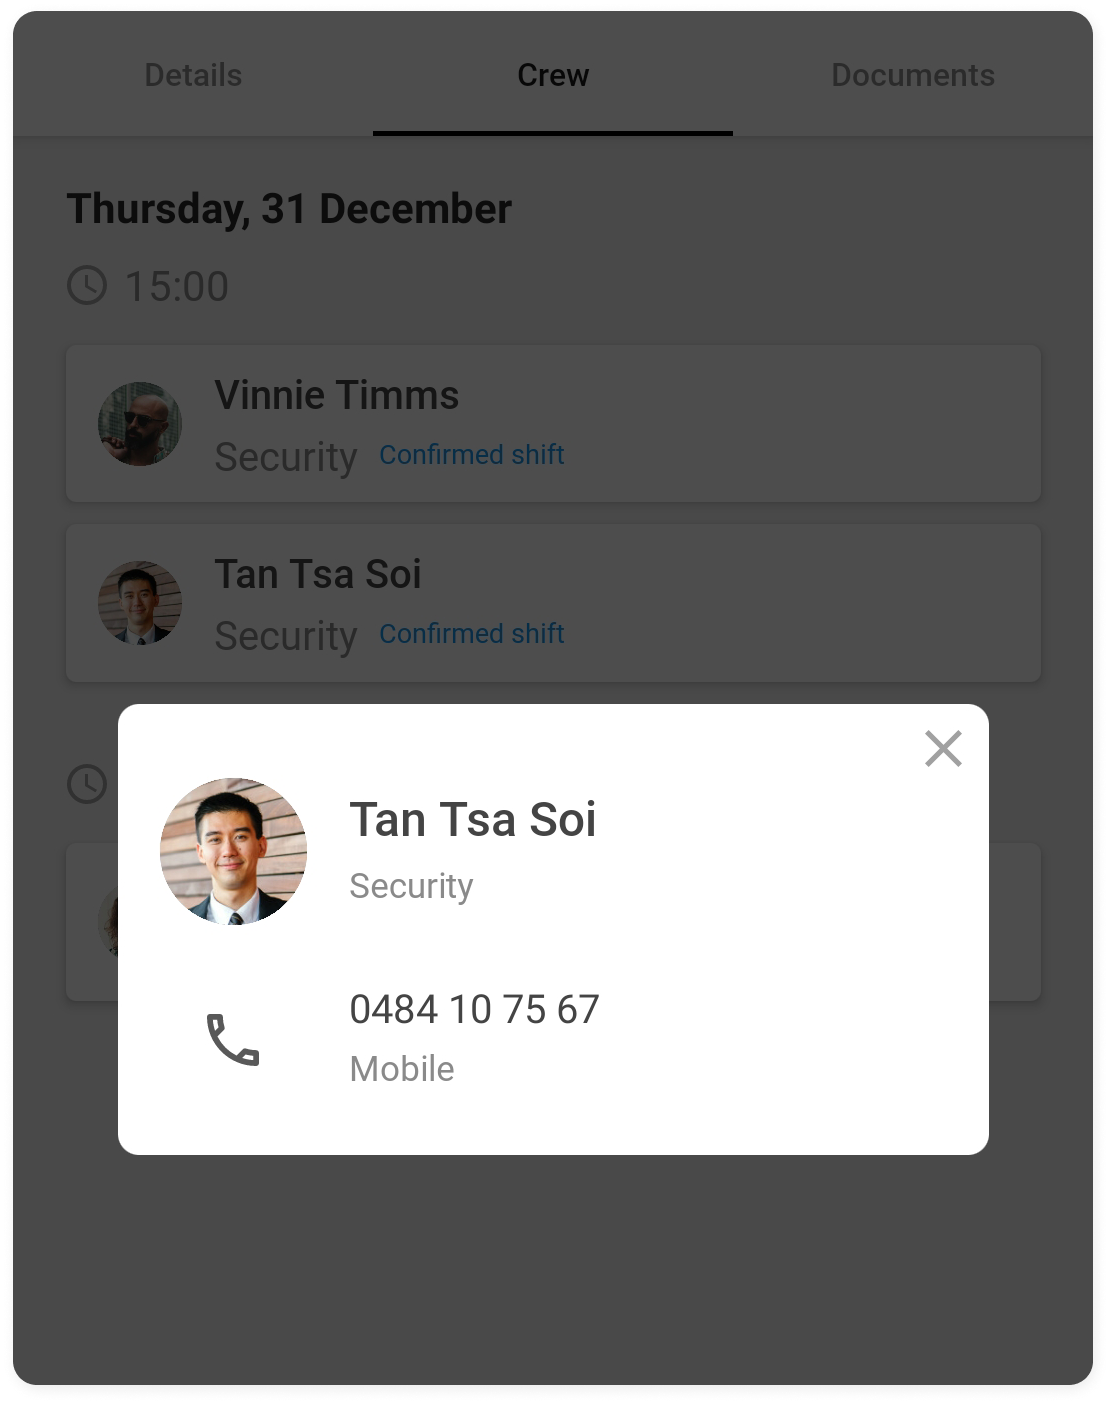
You can select a colleague to consult their telephone number or to call them immediately.
Documents
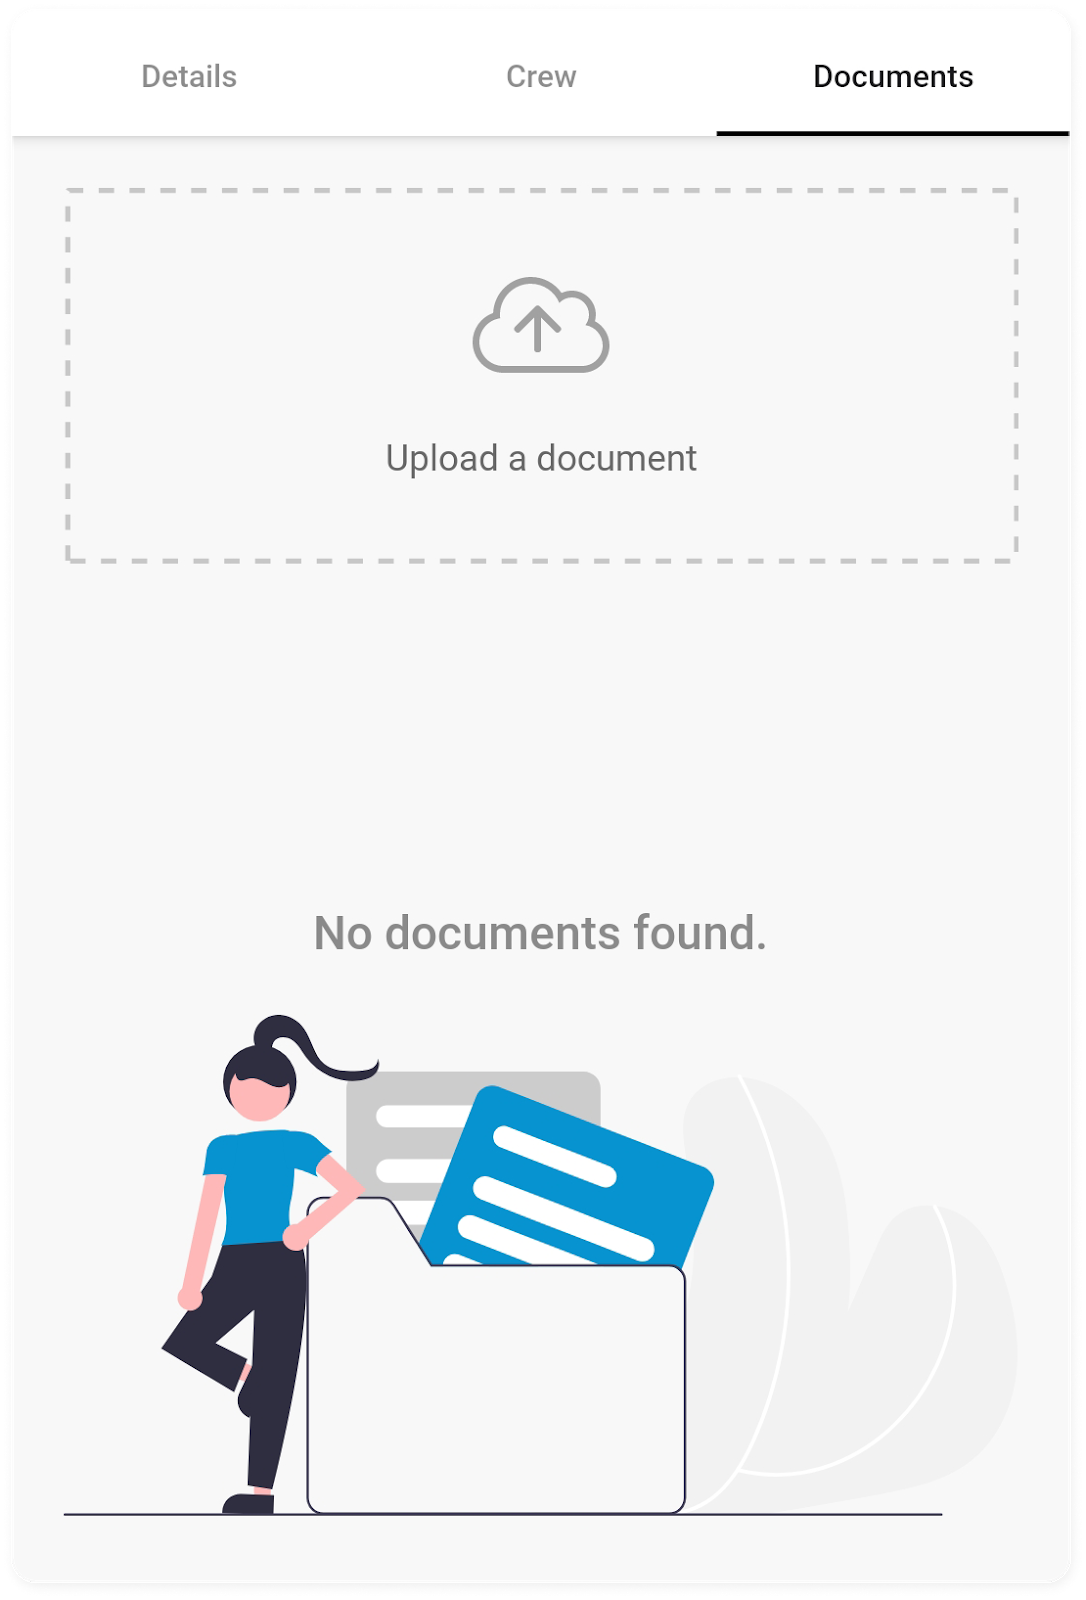
Finally, you have a Documents tab. All documents related to this project will be found here. You can also share a document with your employer from this overview.
Timer
As soon as the timer is active, you will also find it here. You start by selecting START TIMER.
CrewTip! The timer only appears 1 hour before the start of a shift.
CrewTip! During the first 15 minutes, you have the option to cancel the timer without registering any time.
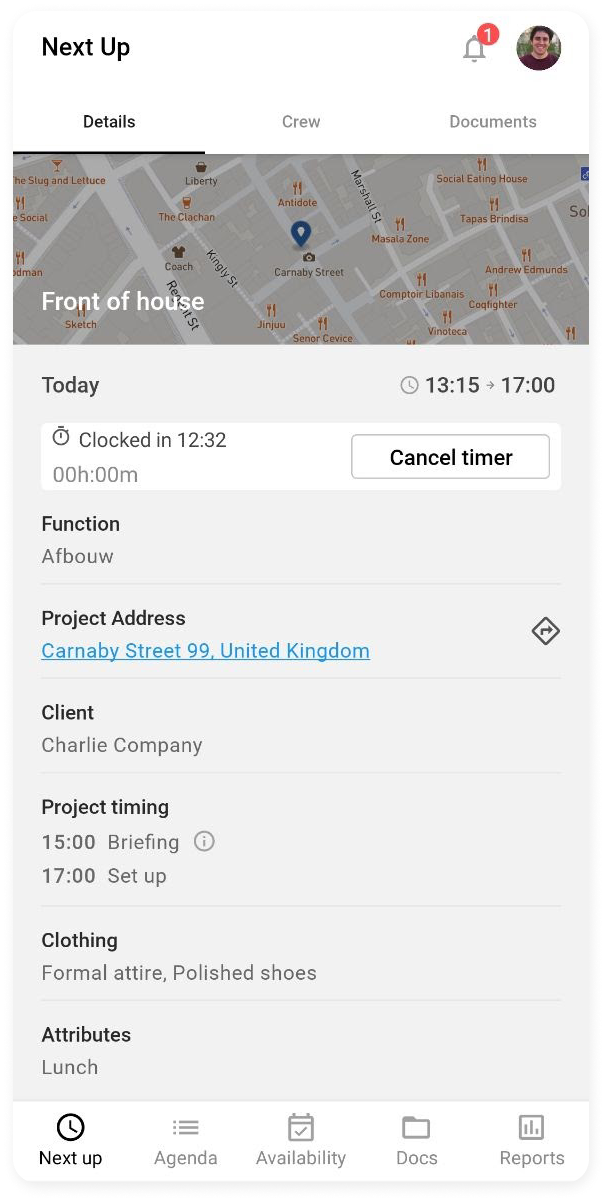
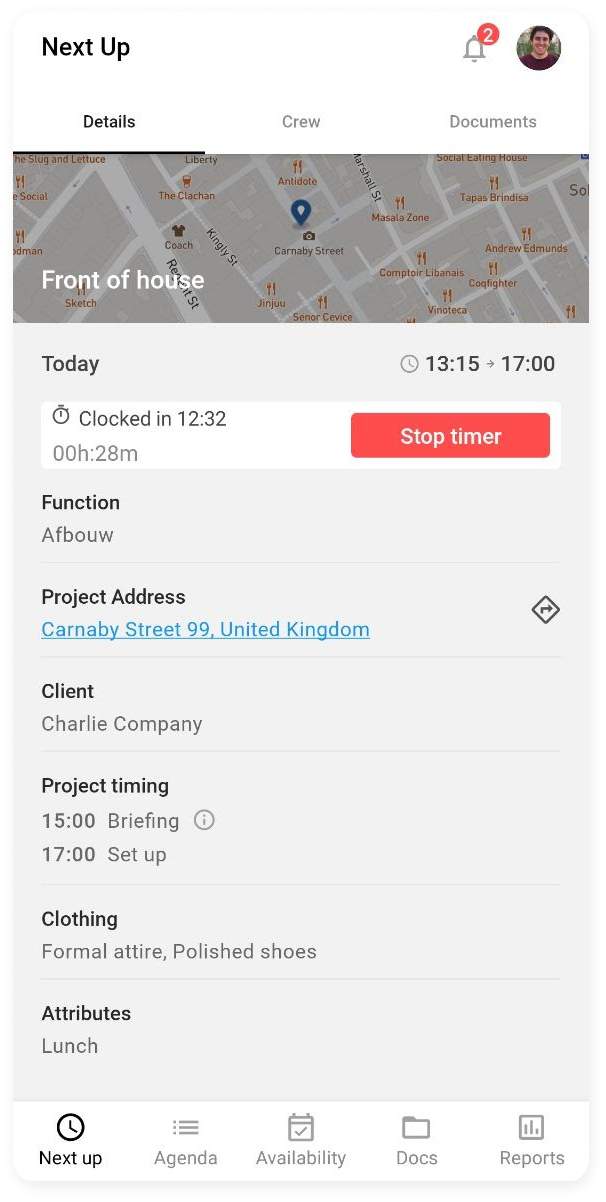
After 15 minutes STOP TIMER will appear. When you finish your shift and you open the app, you will immediately open in NEXT UP, where you can clock out. After you clock out, the project closes in the app.
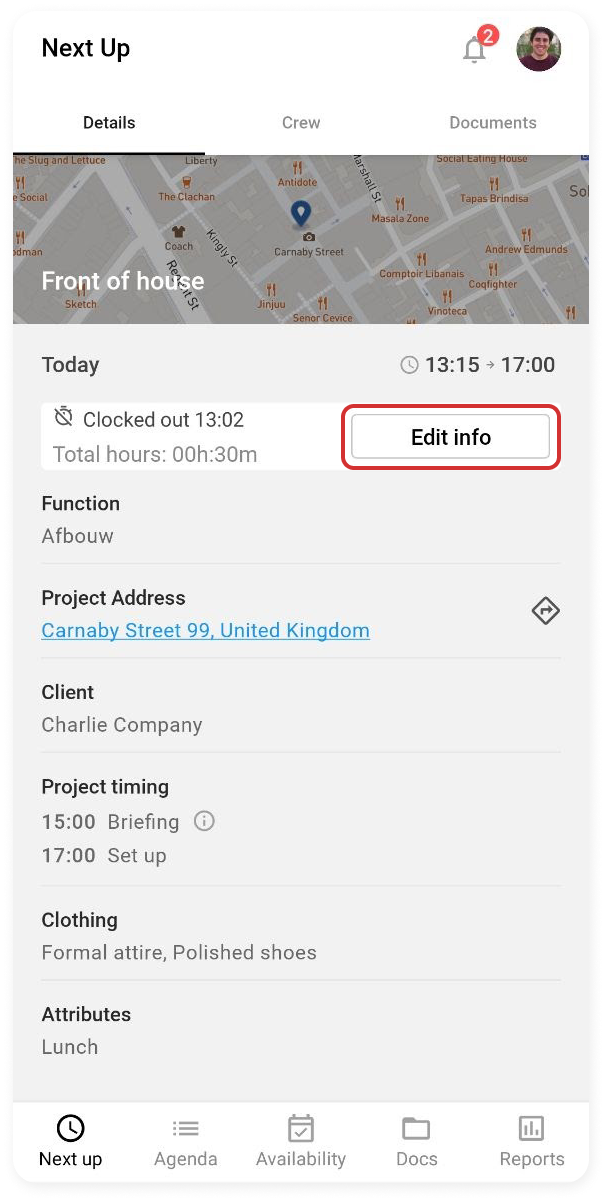
However, if you want to give your employer additional information, go to AGENDA and open the project again. To the right of the clocked time, select EDIT INFO.
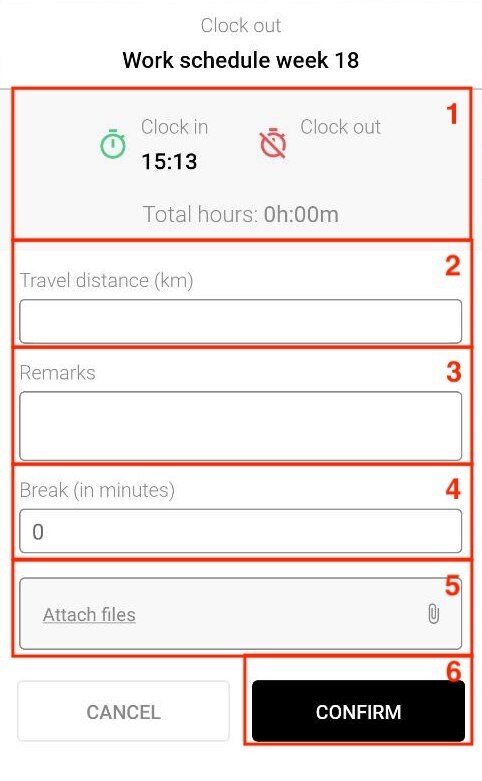
In the pop-up which opens, you will see the following and you can communicate additional data to your employer:
-
Your clocked hours
-
Distance you have driven
-
A comment you would like to share with your employer
-
Here you can change your break time
-
Add a file
-
CONFIRM your entries.
Your clocked hours
Distance you have driven
A comment you would like to share with your employer
Here you can change your break time
Add a file
CONFIRM your entries.
You can consult your own data and adjust it if necessary as long as the manager has not yet completed and processed this project
From then on you can consult your performance in the REPORT page.
Break timer
If your employer uses our break timer functionality, you can register your break during your shift via the application.
When you open up the application you will be redirected to the NEXT UP page where your timer is active.
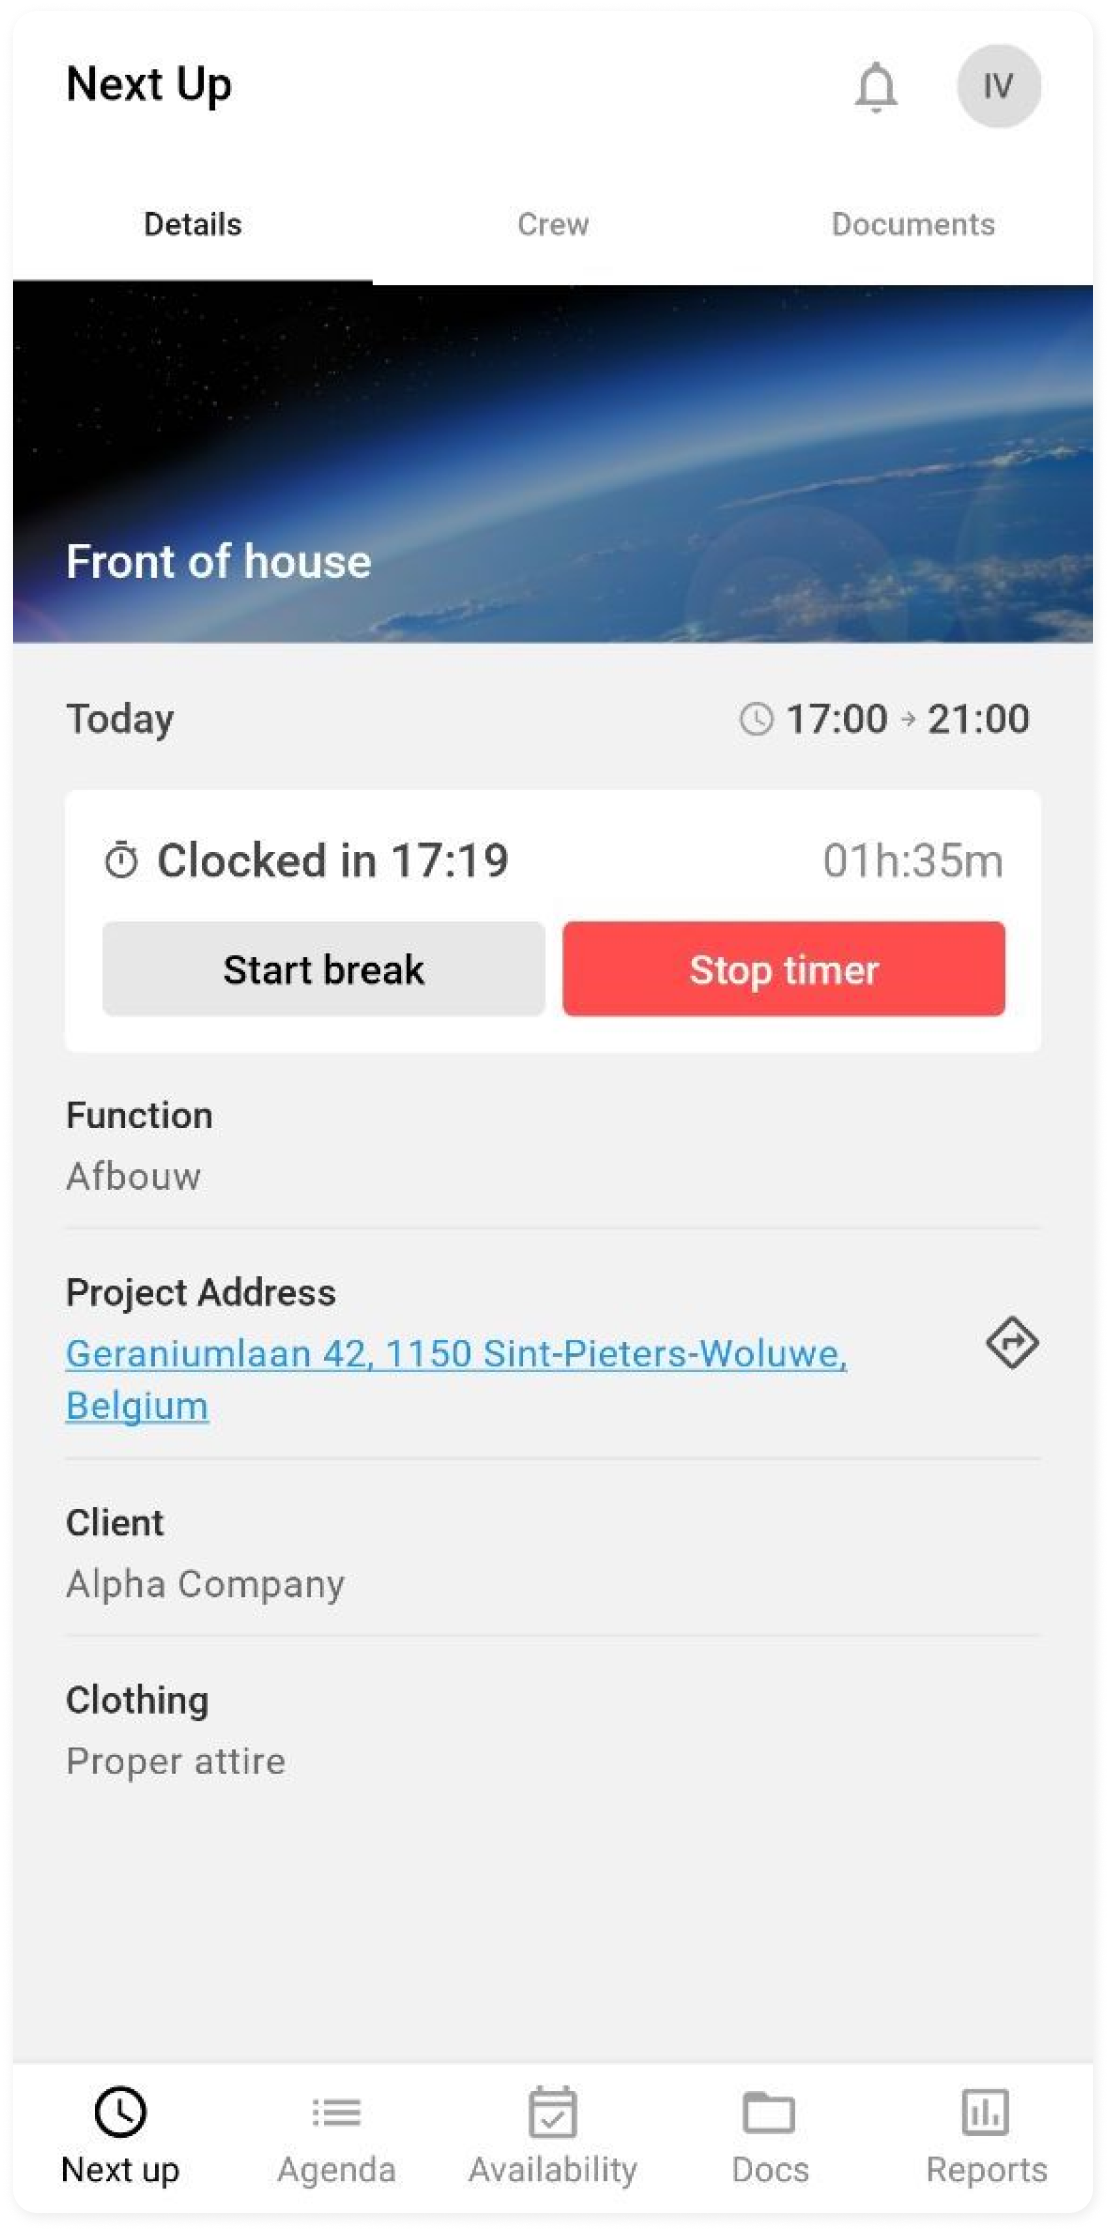
Here you will see START BREAK.

If you select this, your break will start.
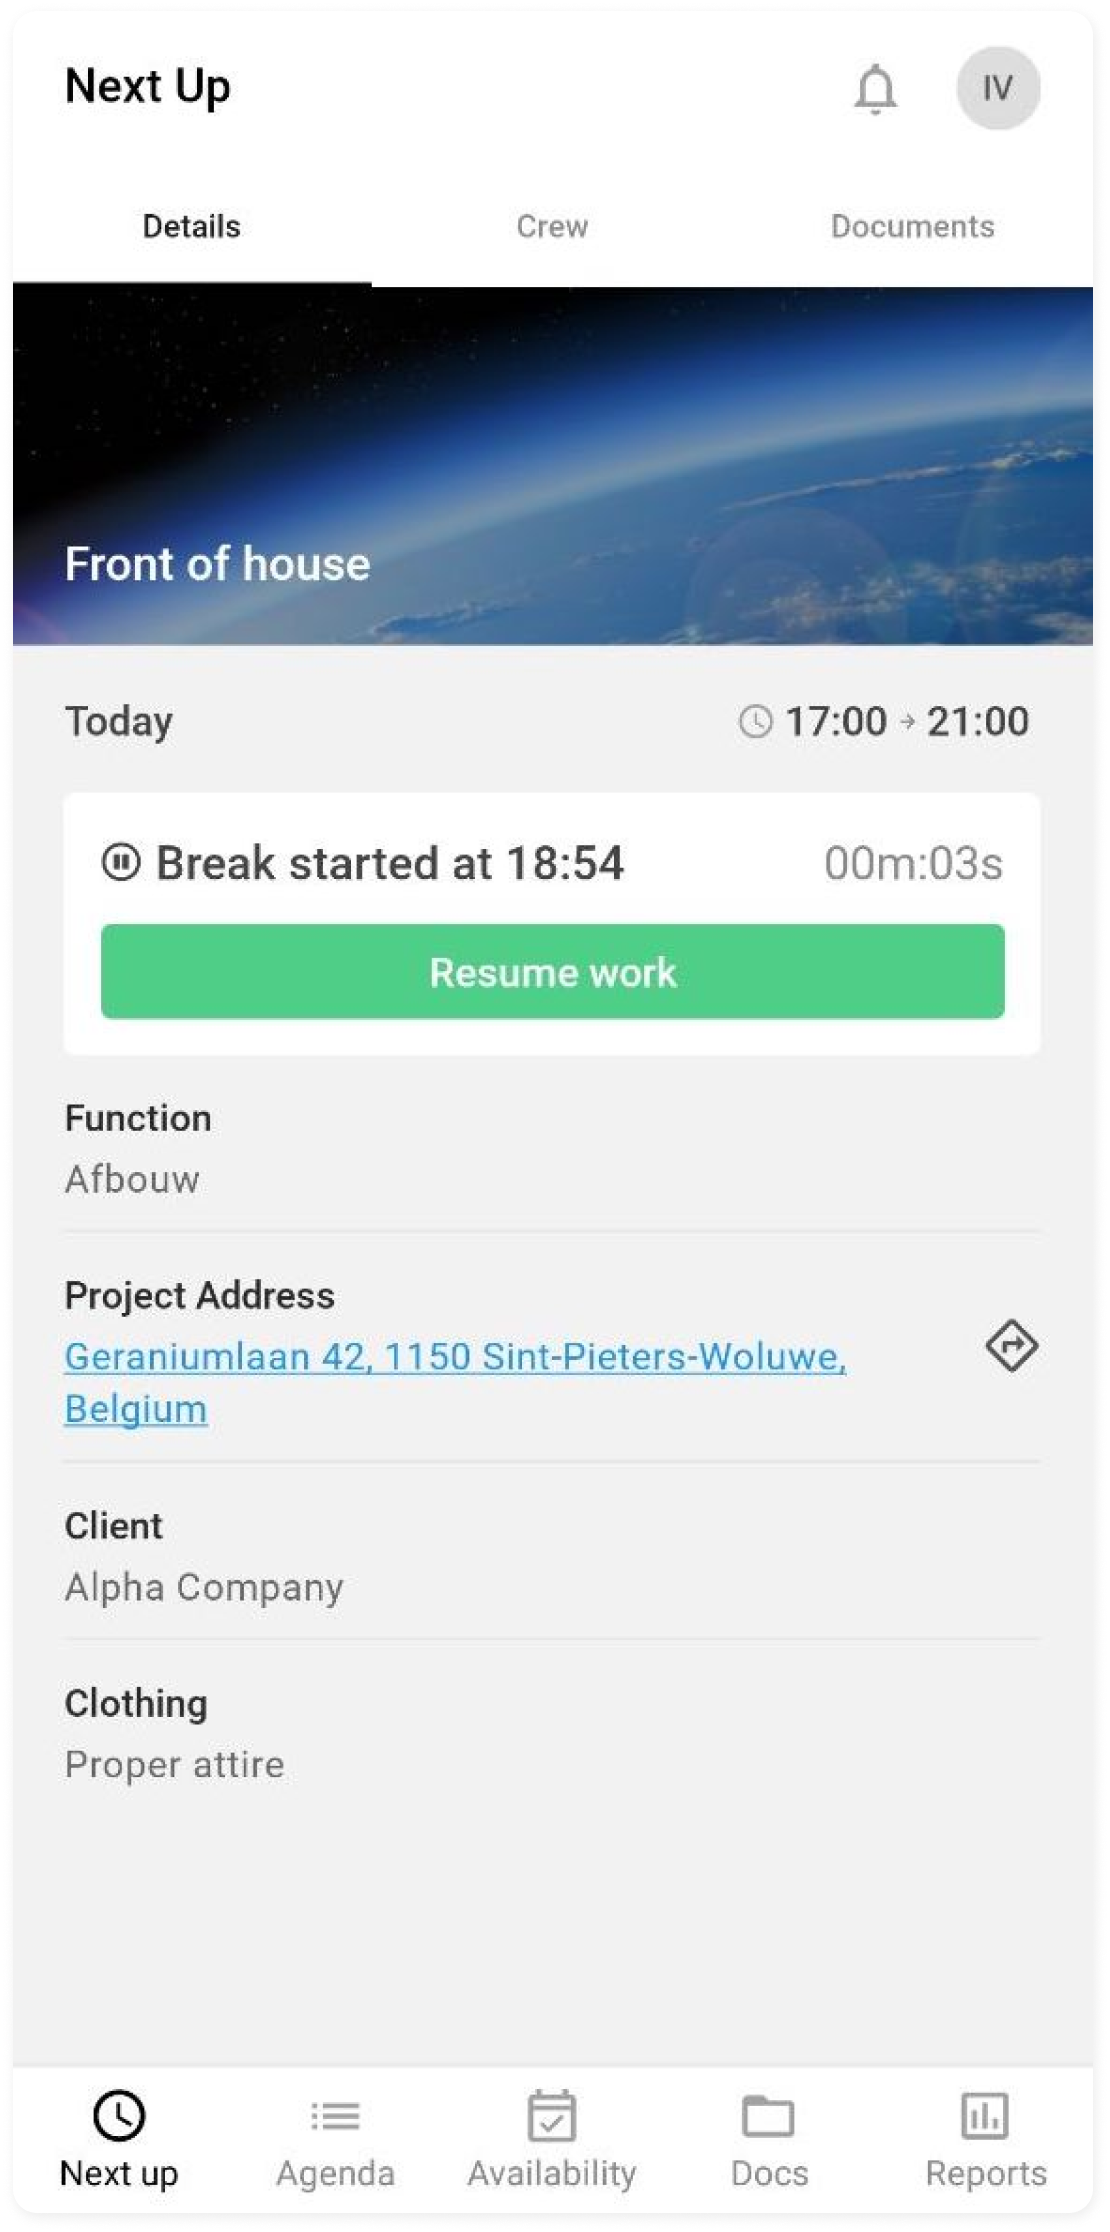
Once your break is over and you wish to resume work, select RESUME WORK.
CrewTip! If you select this button within one minute, no break is recorded.
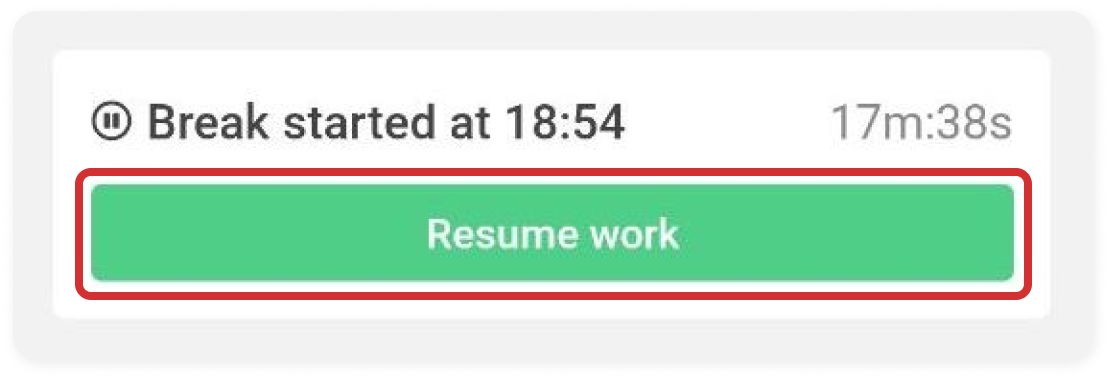
CrewTip! If you forget to turn off the break timer, you will receive a notification after 45 minutes to remind you.
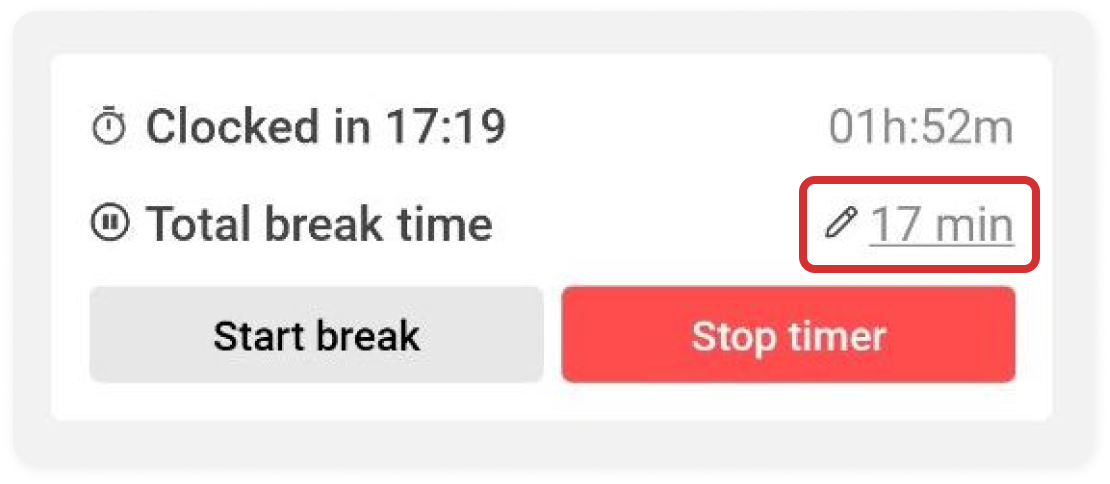
When your break has been registered, you will see it in the overview.
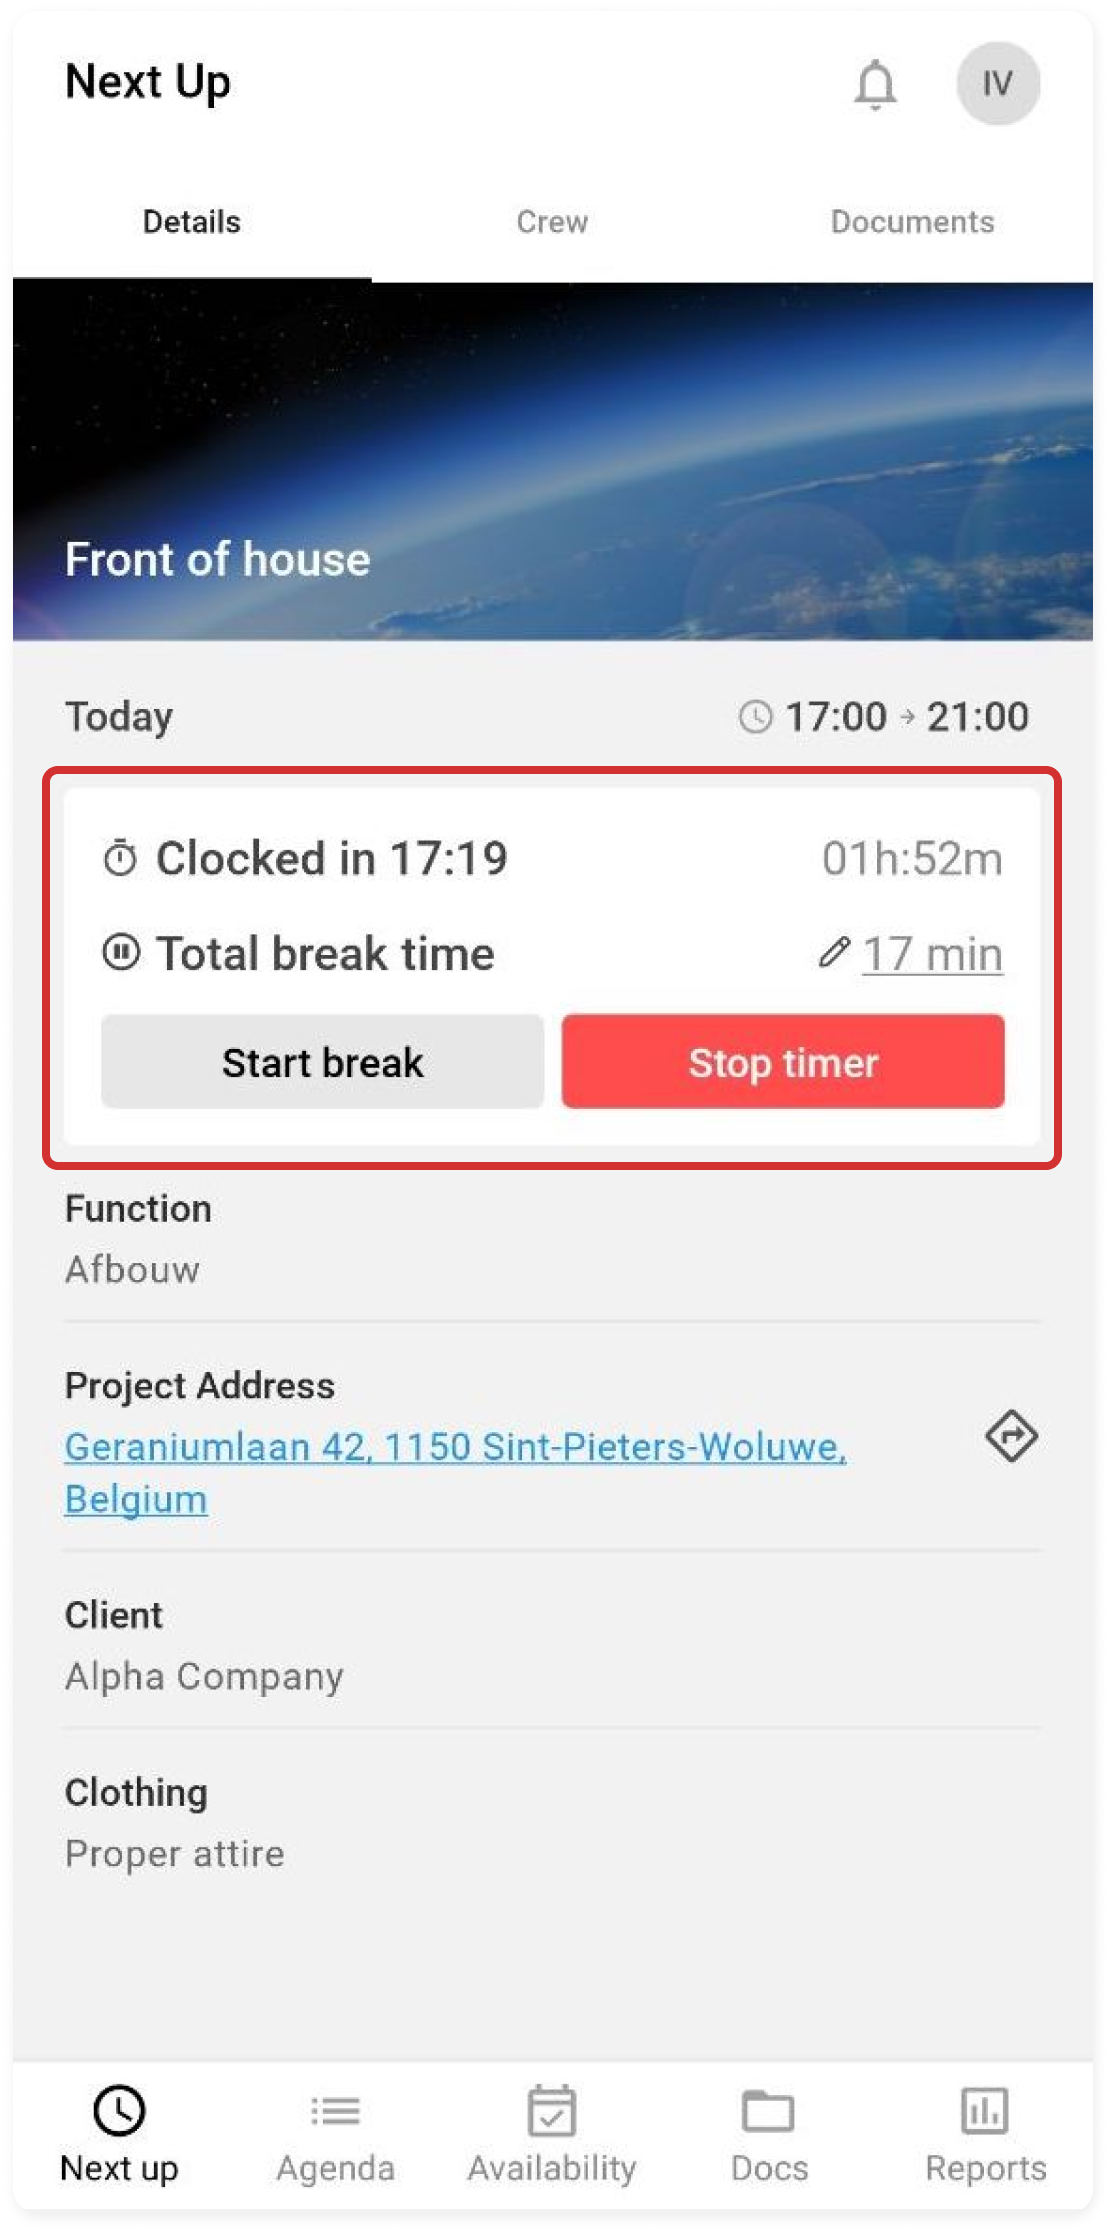
You have the option to edit it by selecting the pencil icon.
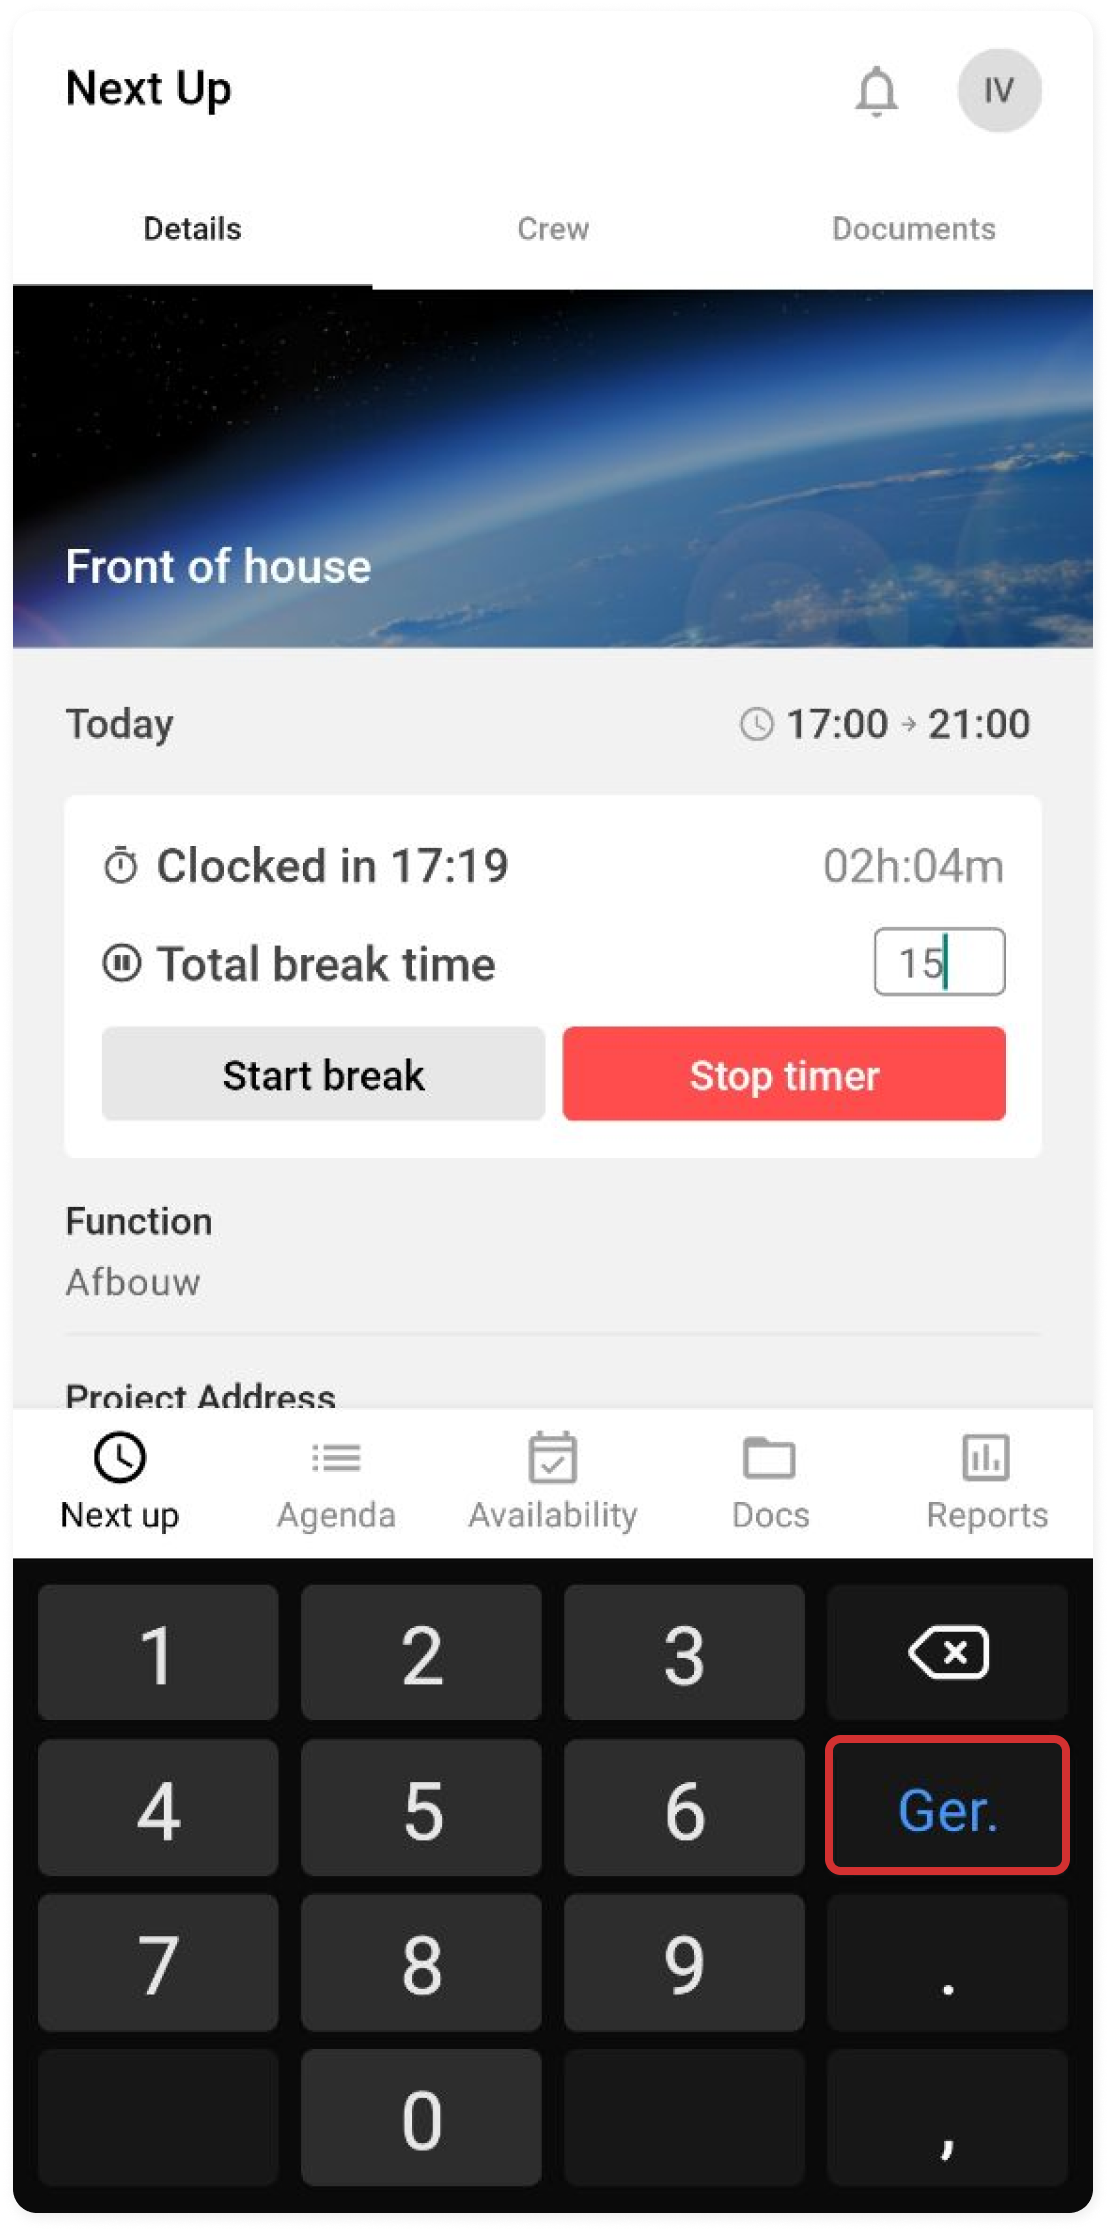
This will open a numeric keypad with which you can adjust the time. When you are done select ENTER.
Your adjusted break has been registered and you can resume work.
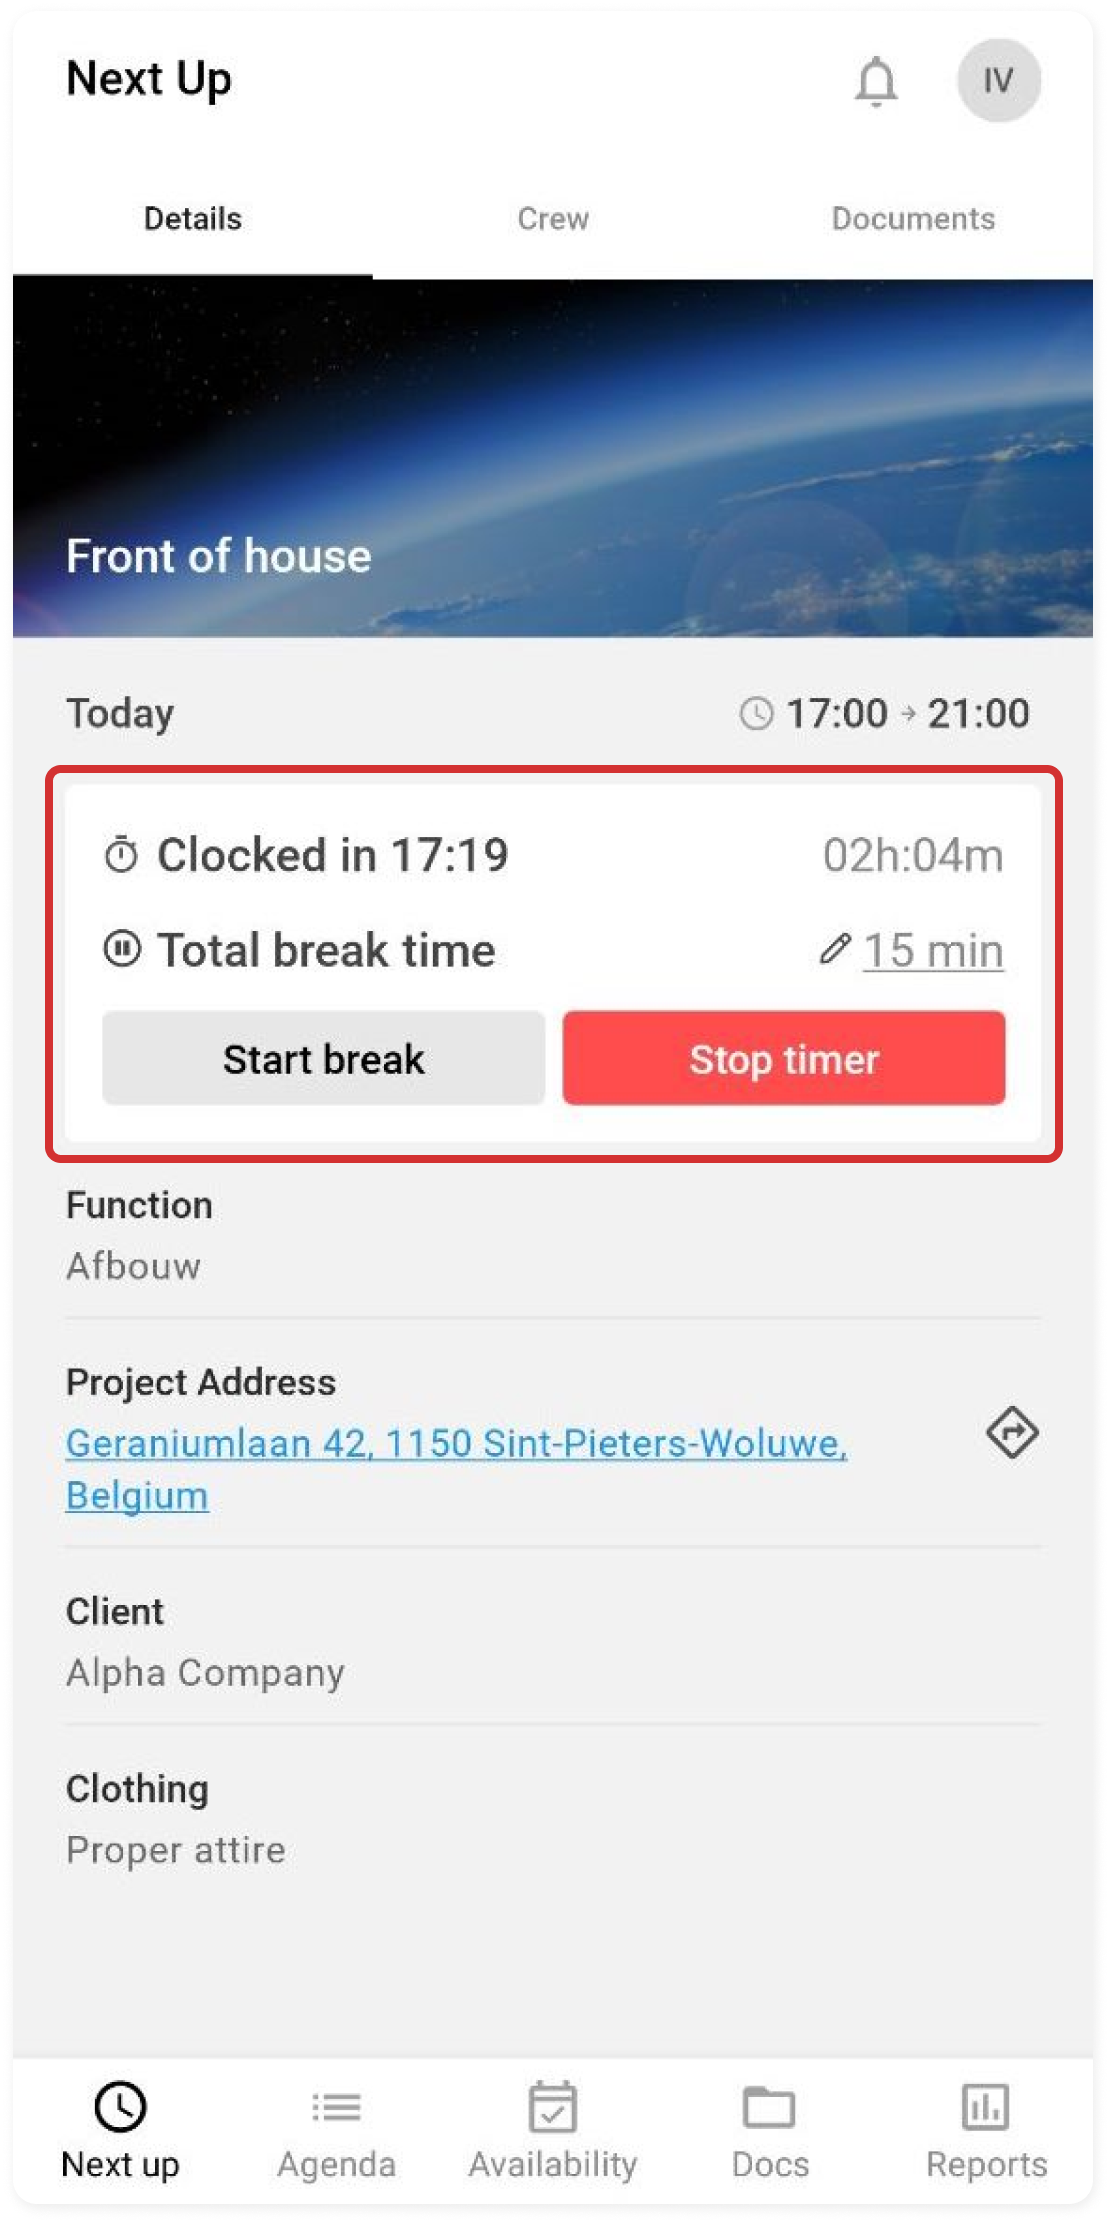
If you take another break during your shift, this time will be added to your first break.
Gather time
If your employer makes use of this function, you will find a gather time and location on your confirmed shifts in the app.
This can be found under the planned timing of the project.
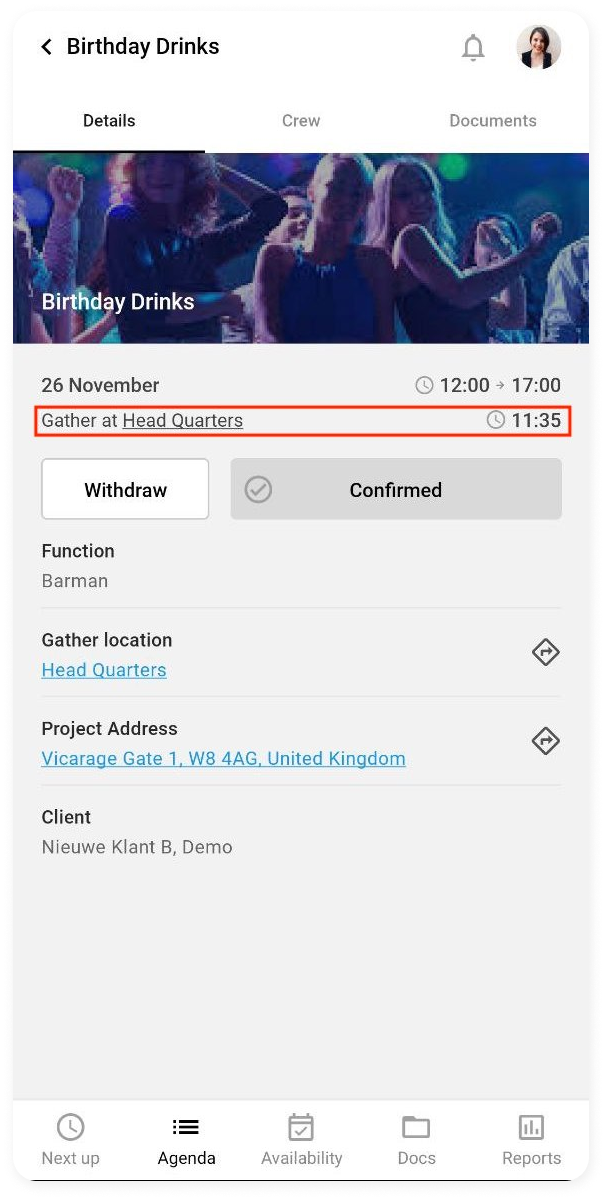
By selecting the name of the meeting location, your route planner will start.
Be sure to read the help articles on: